


On This Page: [hide]
WordPress is the most used CMS (content management system) that runs over 30% of the websites worldwide. It offers compatibility and security, but sometimes WordPress administrators want to go even further in the security and the performance part of it, and here comes the Cloudflare.
What is Cloudflare?
Cloudflare is a domain name system, security, and content delivery network that is used for speeding up the websites. The main idea of Cloudflare is that it routes all of the traffic that is coming to your website through its Cloudflare aglobal network and that leads to many benefits:
• Much faster loading of your pages.
• Significantly decreased bandwidth usage.
• Much cleaner traffic, because it filters out bots and other negative sources.
• Last but not least – much better security.
The Cloudflare itself can lead to reducing the bandwidth usage by up to 55% and over 50% page load time reduction.
How to Add Cloudflare to WordPress
The process of setting your website with Cloudflare is pretty easy and it does not require any advanced knowledge, which is great even for new WordPress users.
It can be done with 4 steps:
• Signing up to Cloudflare
• Adding your site and enabling Cloudflare to scan the DNS
• Confirm the DNS
• Change your domain nameservers to point to the Cloudflare’s
Sign up to Cloudflare
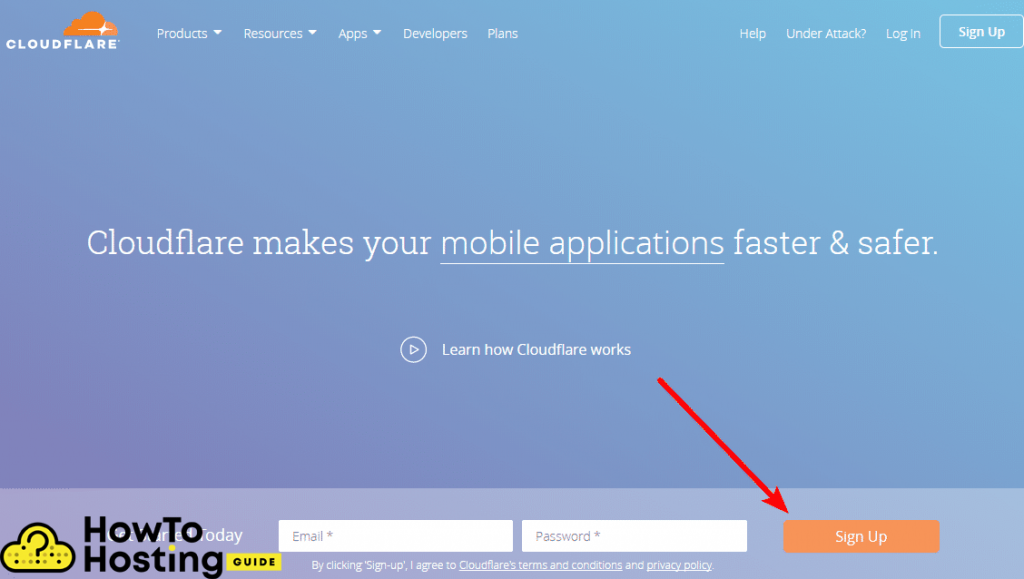
First, you need to go over Cloudflare’s website and create your new account.
Add your site and enabler Cloudflare
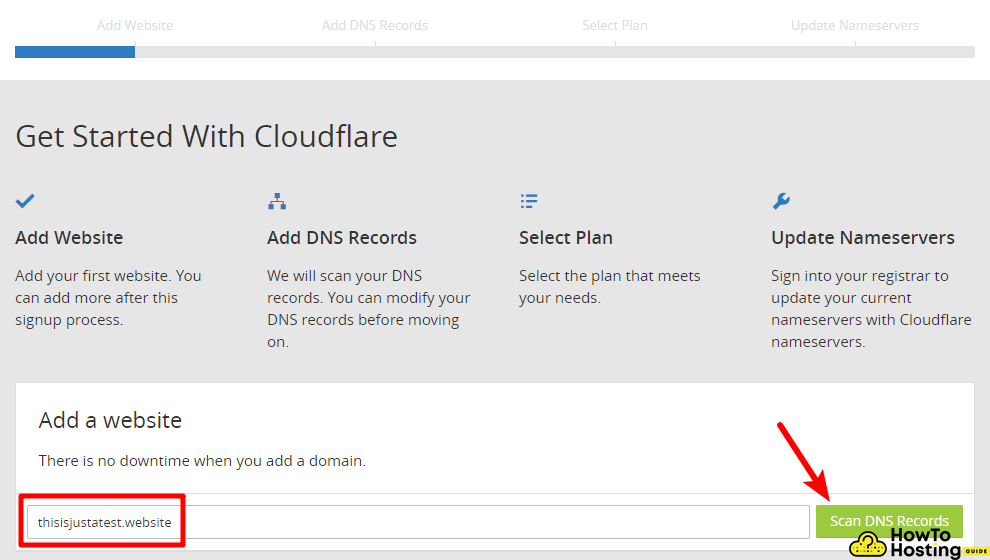
On this window, you will see an “Add a website” section. Write down your domain and click Scan DNS Records. Once the process is finished, click on the Continue button.
Confirm Your DNS Records And Modify Them If Needed
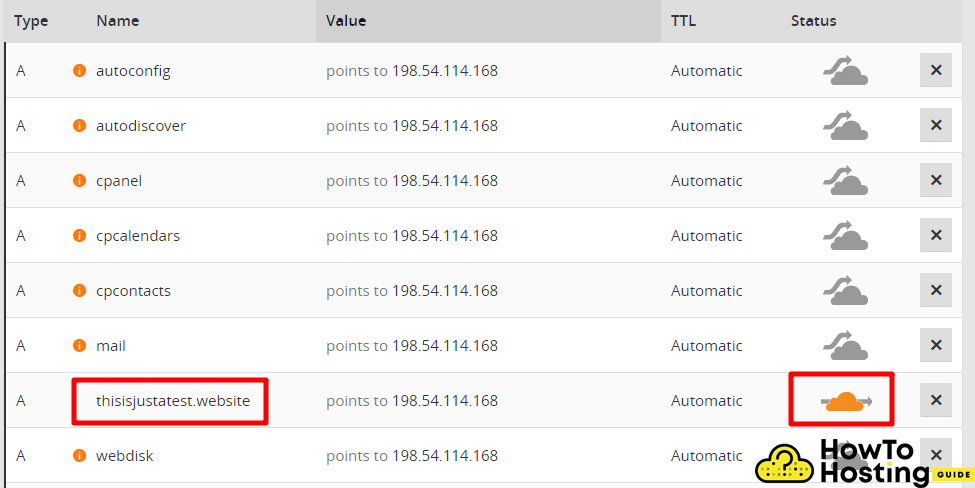
On this step, you can choose which DNS records to be used by Cloudflare and which will bypass the Cloudflare network. Still, it is not necessary to do anything in this step the only thing that you should see is the orange cloud icon next to the record of your domain name, just like it is shown in the image above.
Cloudflare Plans
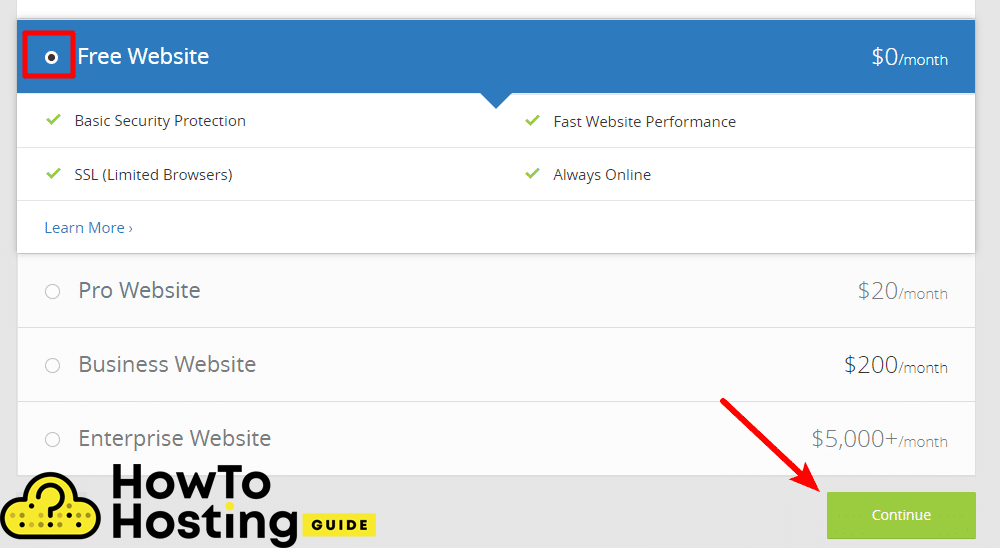
On the next step, you will see some paid Cloudflare options, but if you don’t need to use a paid Cloudflare plan, you can go for the “Free Website” that costs 0$/month and click Continue.
Change Nameservers to Cloudflare
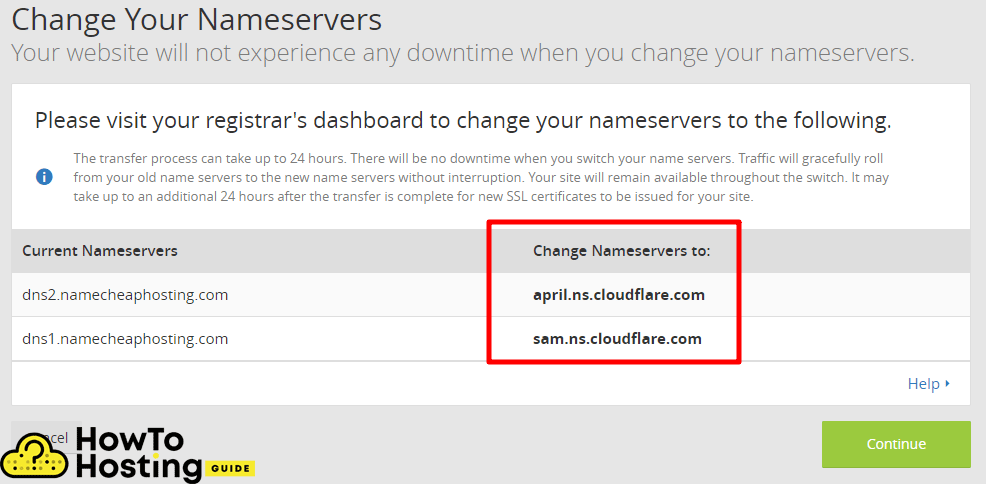
Once you’ve completed these steps you are ready to switch the nameservers to point to the Cloudflare’s. To do that, go to your domain registrar and check for your nameservers. Once you find them update them with the two values that Cloudflare provided.
Once you make these changes, go back to the Cloudflare and click Continue. And you are done.
What To Have in Mind
Now when you try to visit your website you might be seeing a message saying that the website is not active, DNS modification pending, or some similar error, but don’t worry. This is because the real update process of your nameservers takes between 3 and 24 hours.
Integrate Cloudflare With WordPress
Integrating Cloudflare with WordPress is easy. It can be achieved with the help of a plugin that lets you configure your settings with one click and also lets you make changes over your Cloudflare settings straight from your WordPress dashboard.
Go to Plugins, Add New, and search for Cloudflare. Download and install the plugin, then activate it and you will see this:
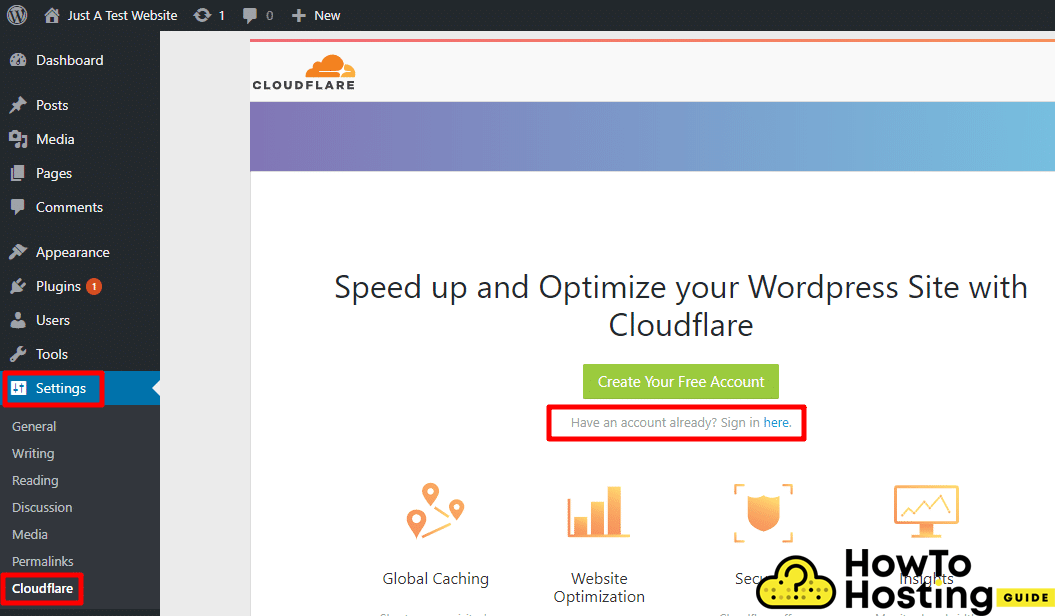
Click on the “Sign in HERE” link and you will be asked for your Email and API Key.
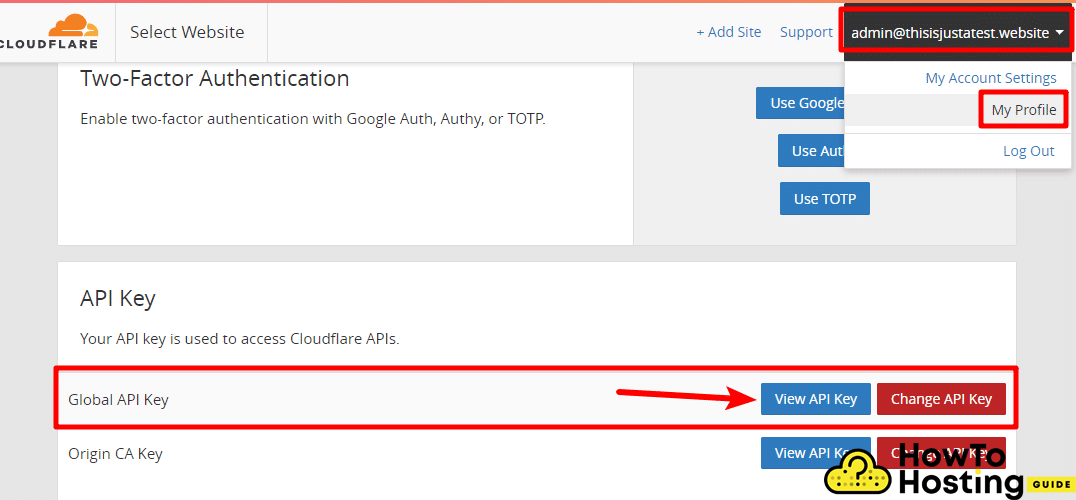
To find your API key, go to Cloudflare, click on your email address in the top right corner, select My Profile, and then scroll to the API section. Click on the View API key and you will see it.
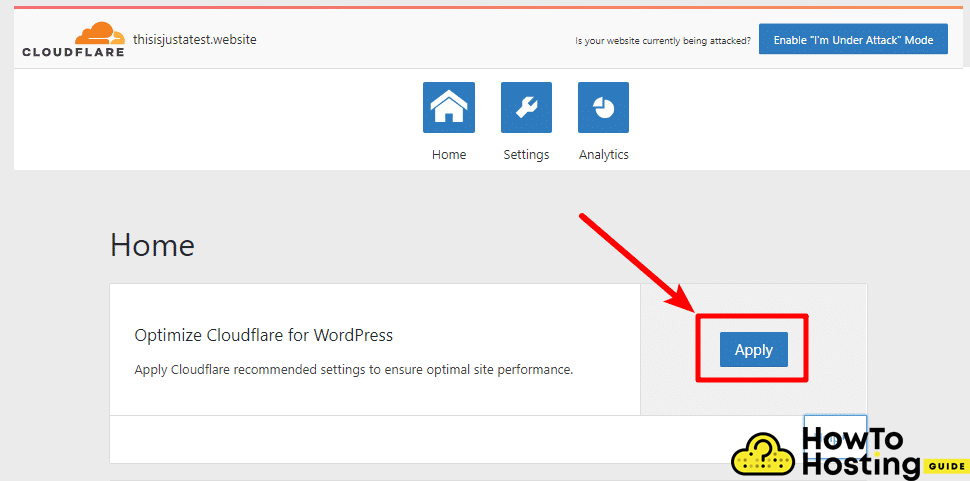
Type that information in your WordPress dashboard and once you activate your Cloudflare account with the Cloudflare plugin you will see lots of different options provided by the plugin.
It is a great thing that you can optimize your website with a single click, so clicking Apply will apply lots of different optimization settings and improve your website performance.
Have in mind, that if you are using some caching plugins like WP Rocket, for example, you should read how it implements with Cloudflare to work correctly.
Danke für diesen Artikel! Es hat mir sehr bei der Konfigurierung geholfen.