


On This Page: [hide]
You are probably just starting up with your WordPress website. And you’re wondering – ‘I’ve heard that I can install plugins in WordPress to extend the capabilities of the website, but how do I that?’. We are here to share that knowledge with you.
Steps to Install Plugins in WordPress

Step 1: Open Up the Plugin Search to install plugins in WordPress
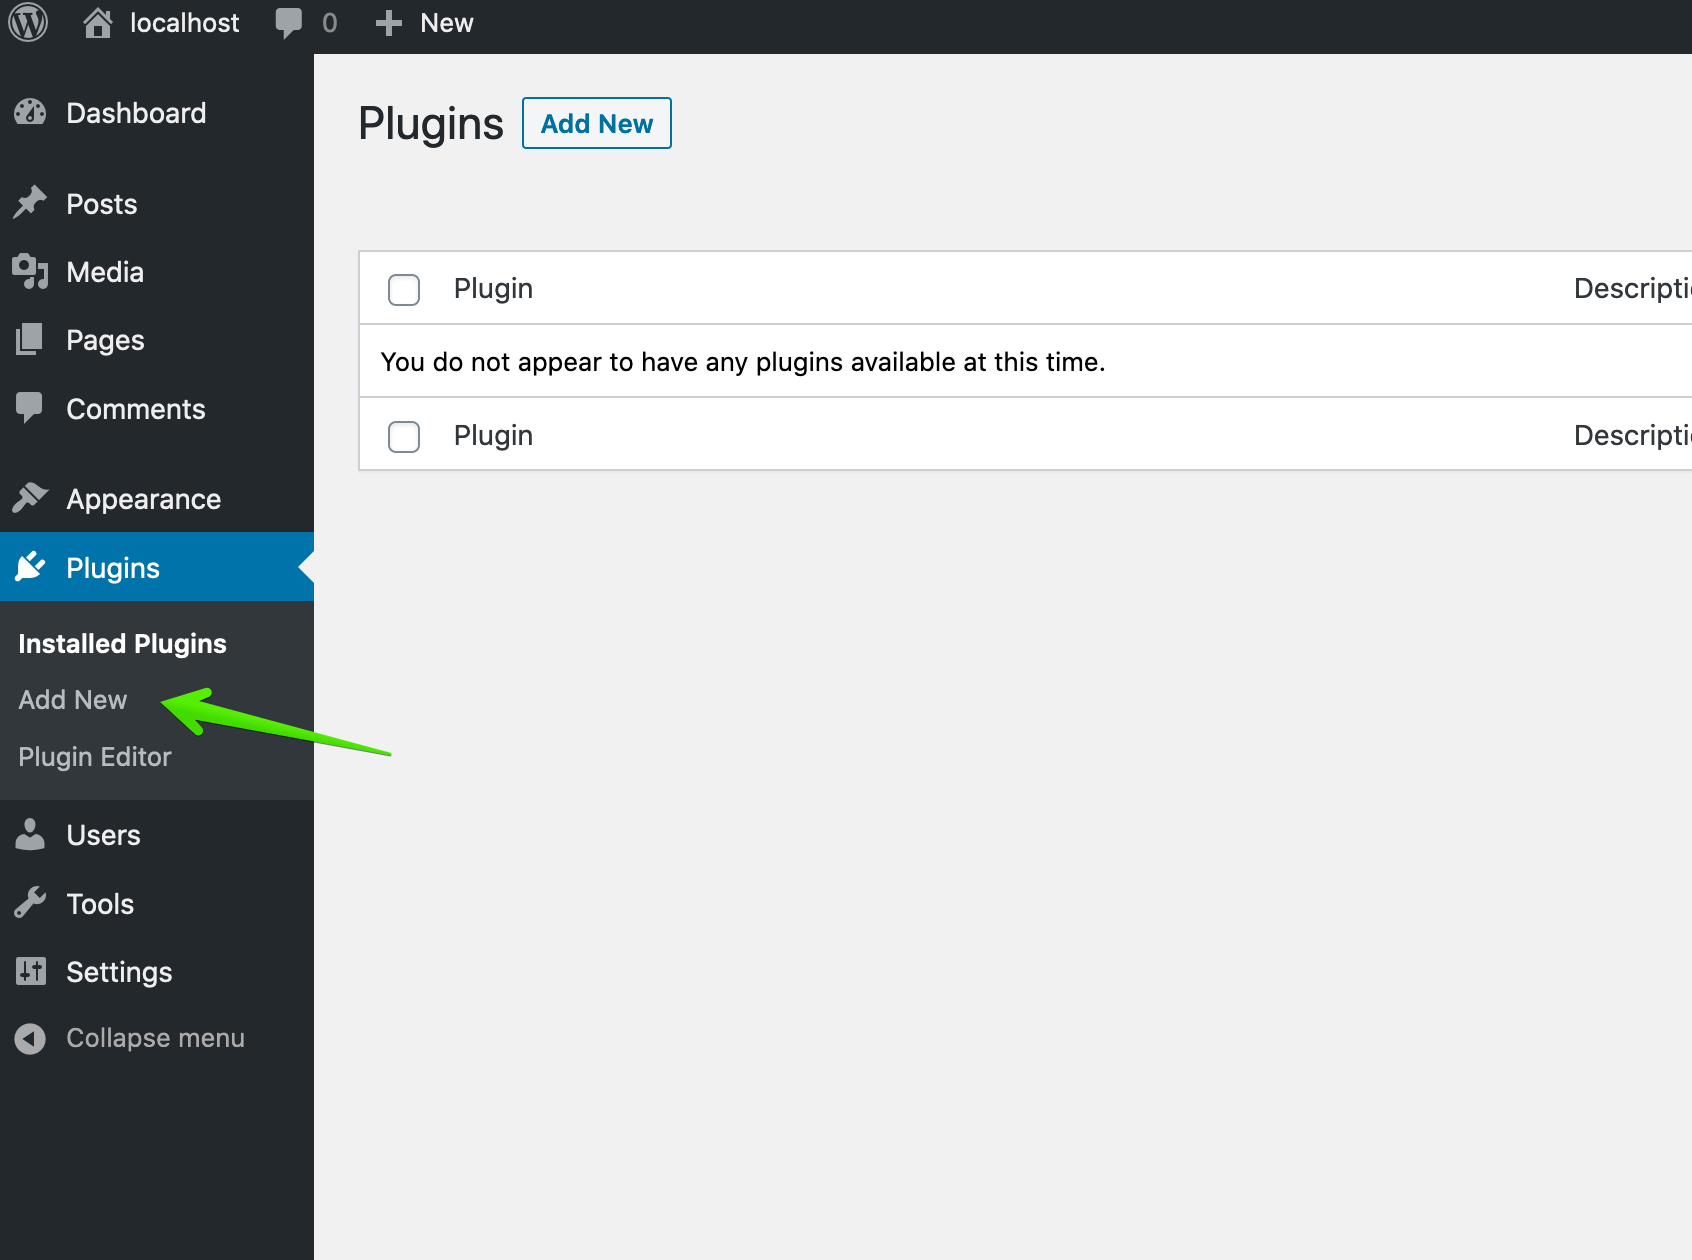
The first step is to reach out to the ‘plugin installation wizard’ as we may call it. You can do that while navigating to your WP-Admin and then searching for Plugins -> Add New in the navigation panel.
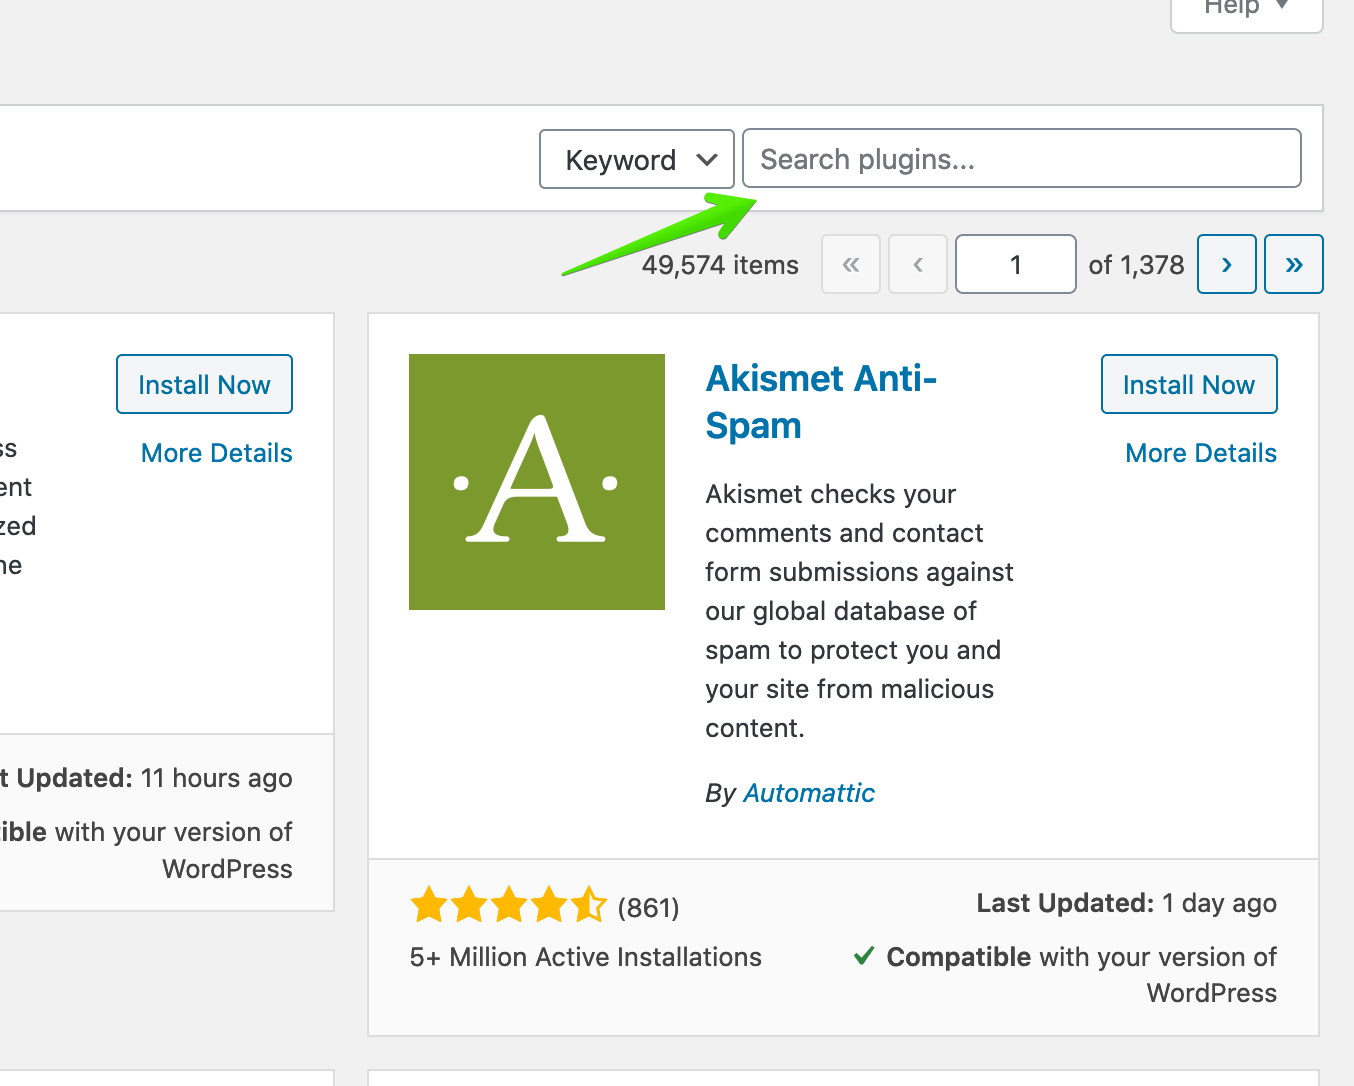
Step 2: Search for the plugin you wish
You might check out on the internet or you could look up some guide for plugins on our website. Make sure that you find the right plugins for your needs by doing some research or browsing in the ‘plugin installation wizard’.
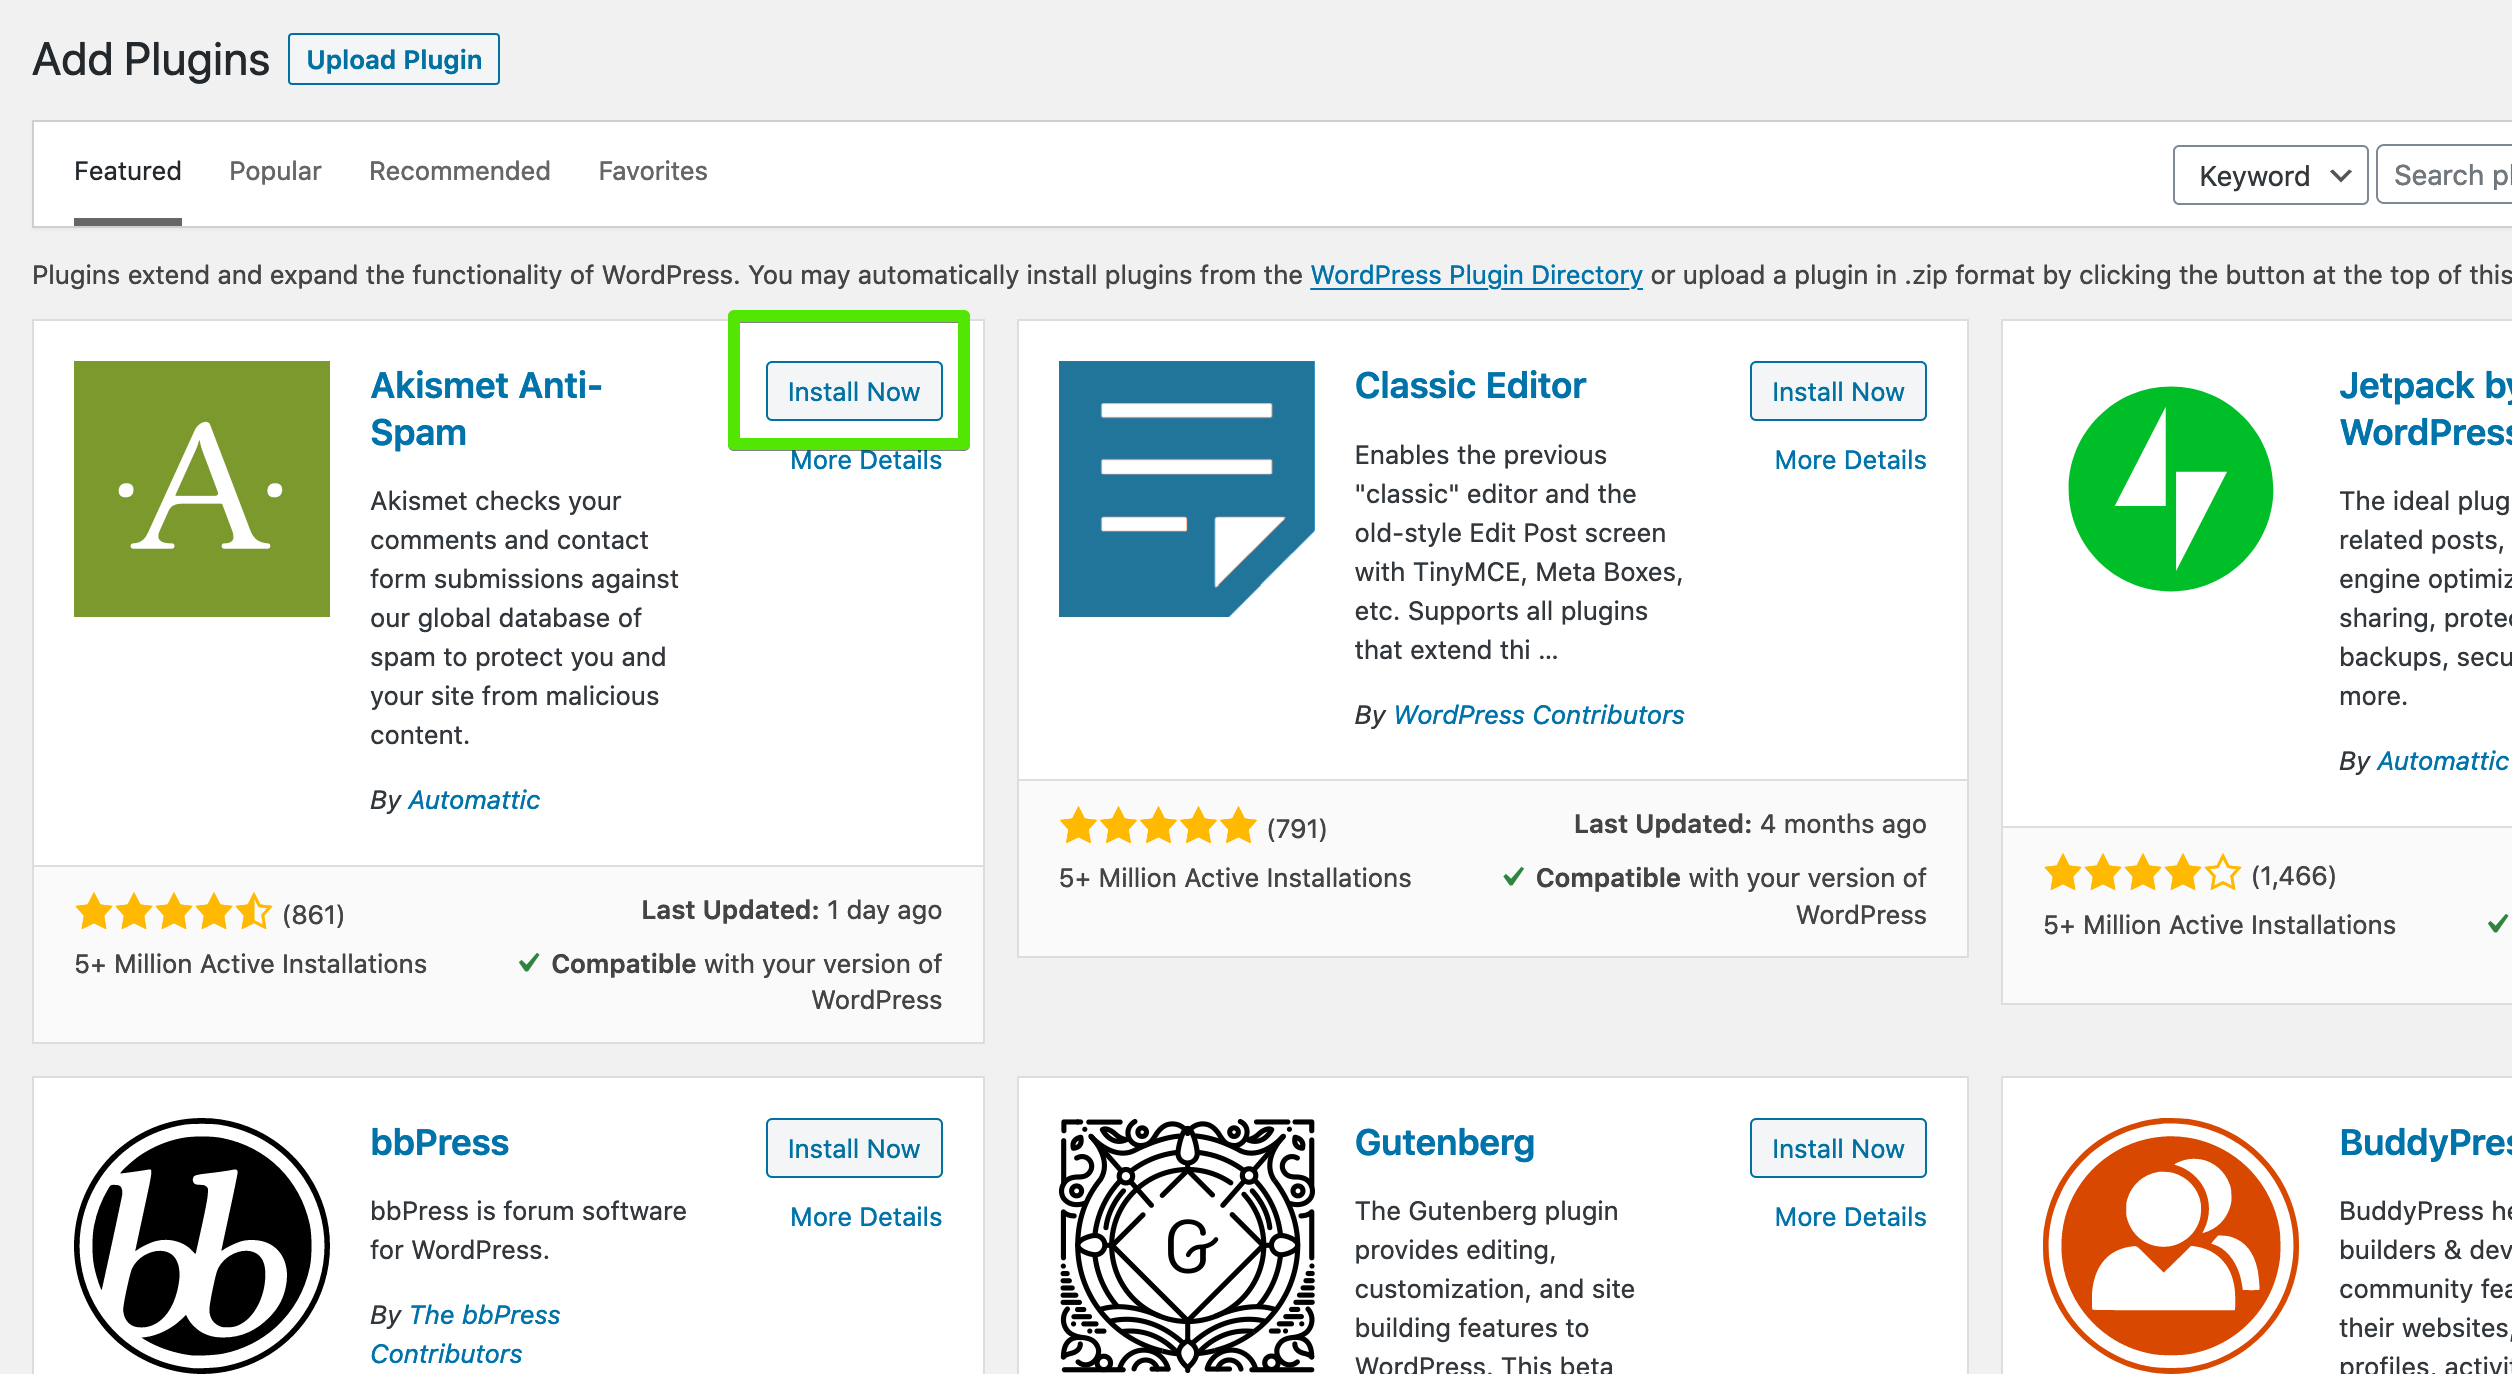
It will look like this:
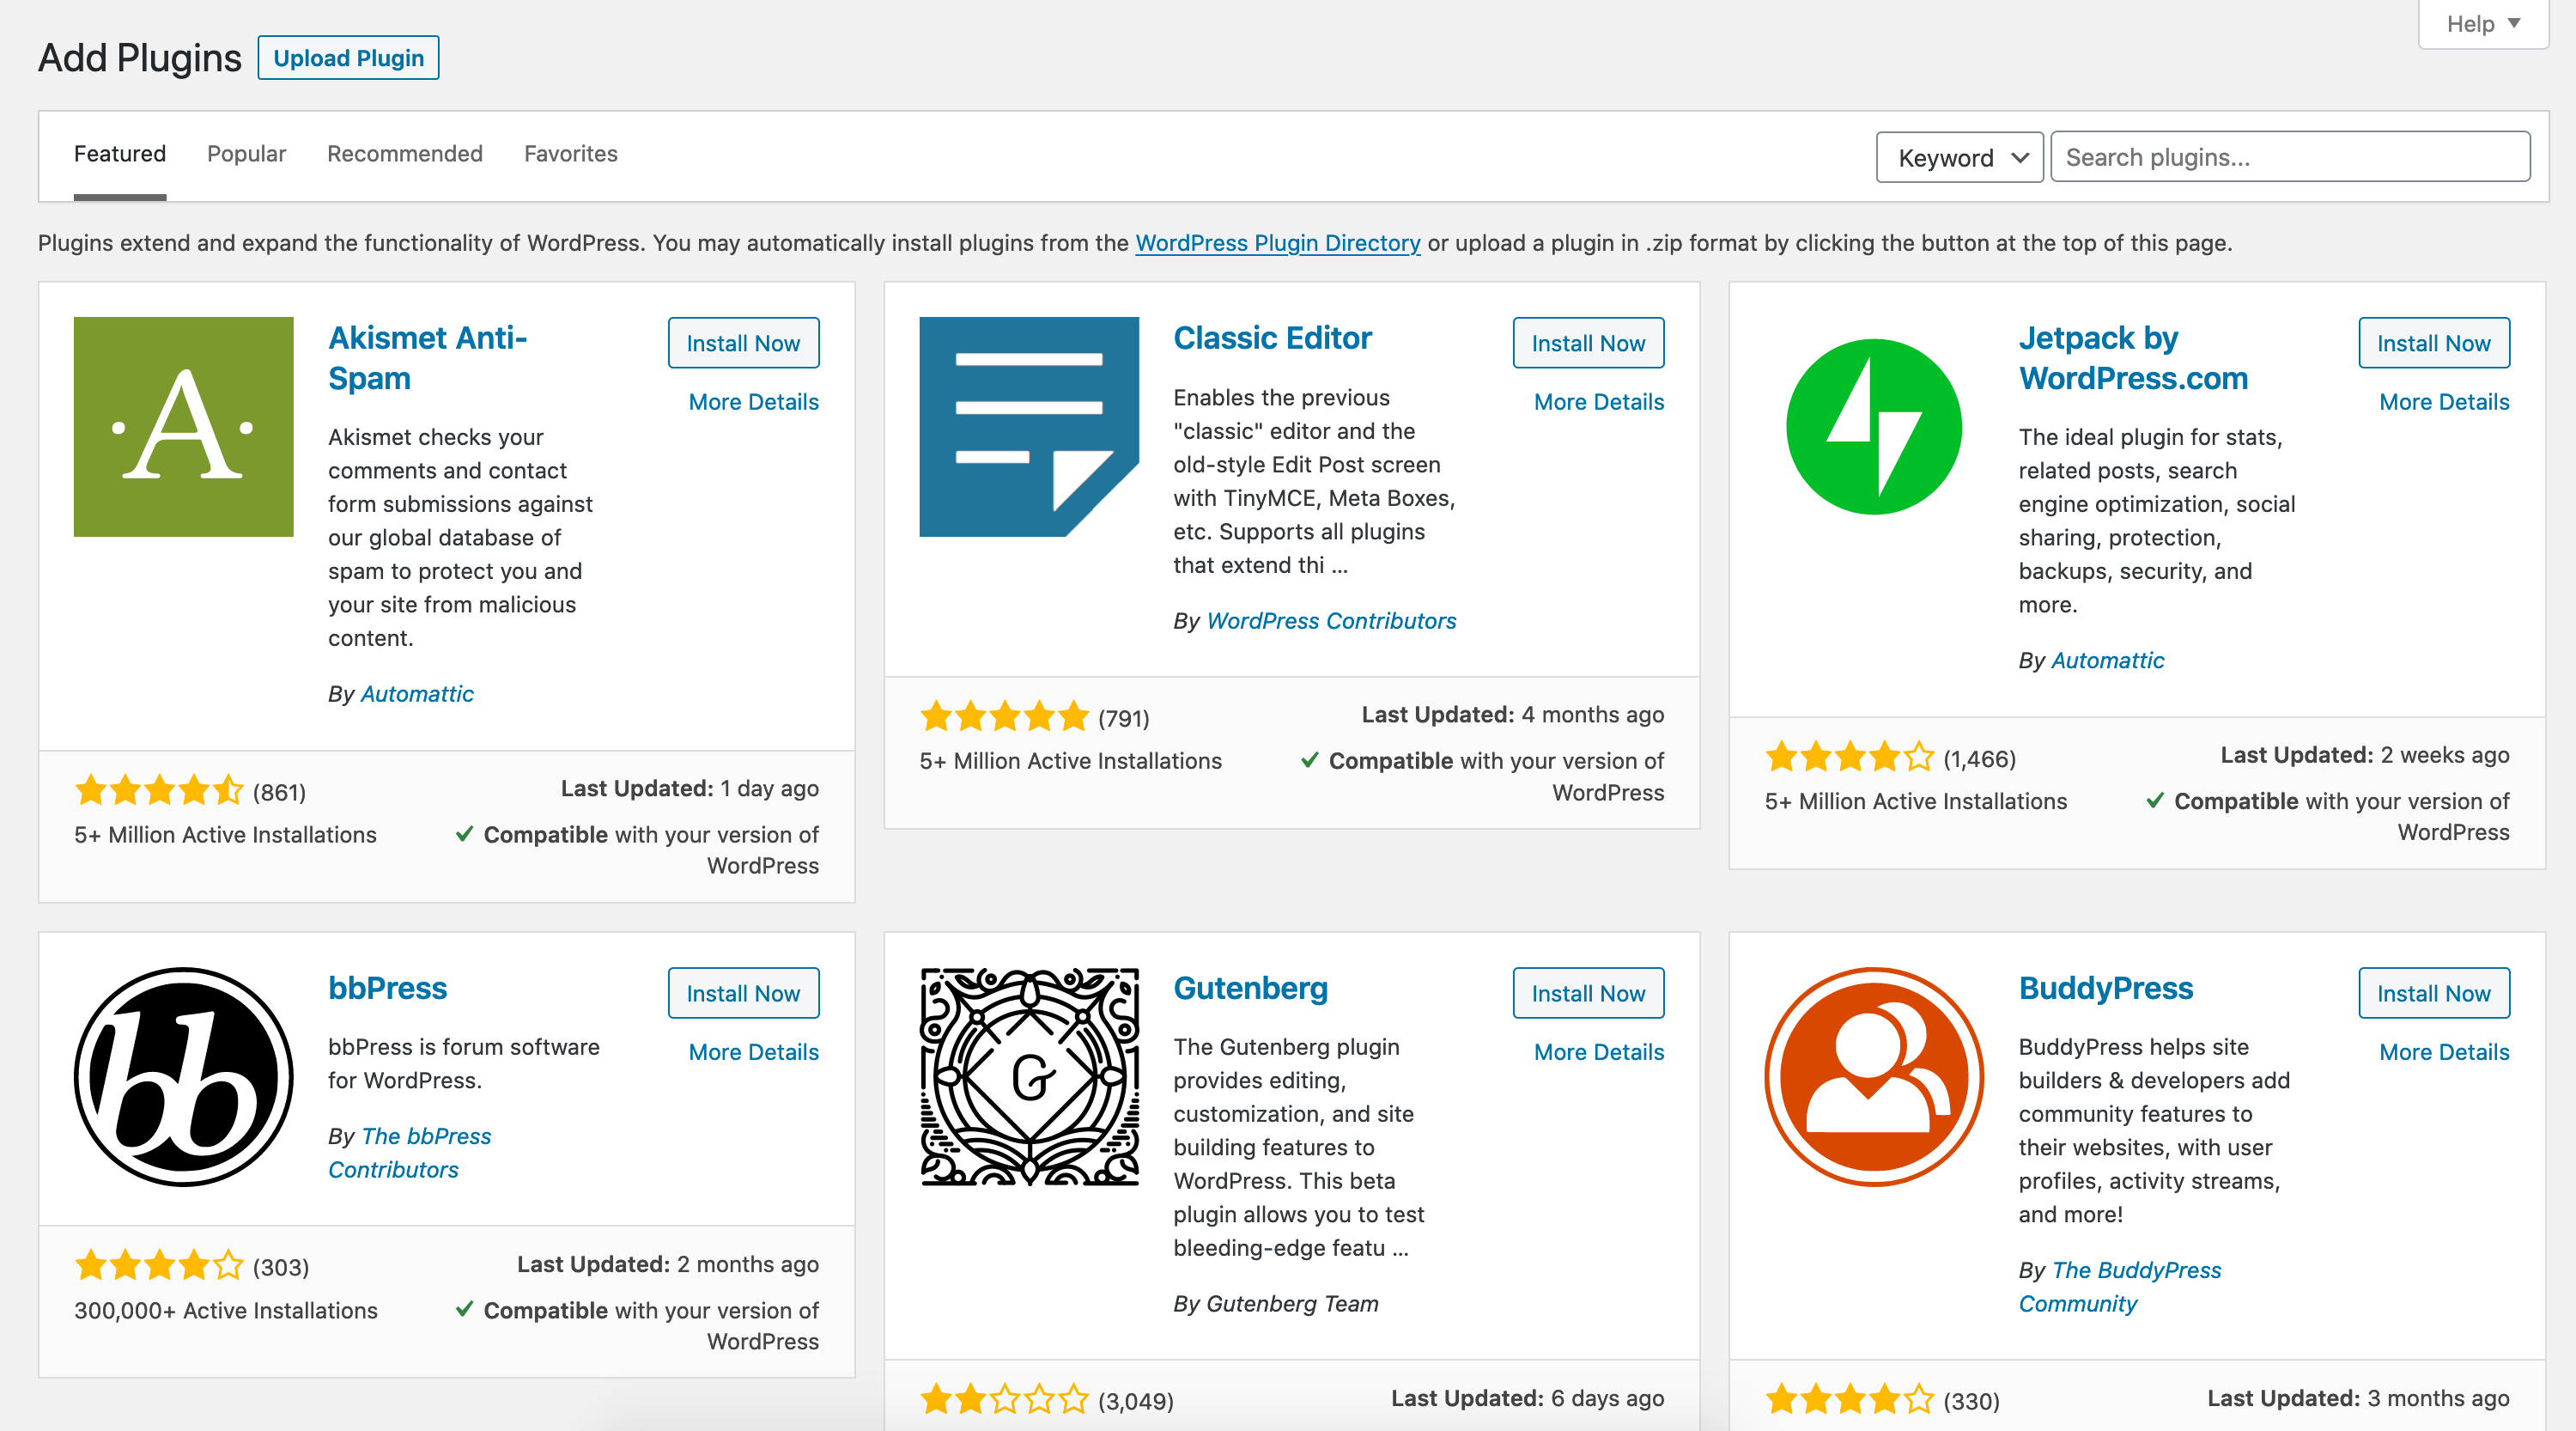
From here you can:
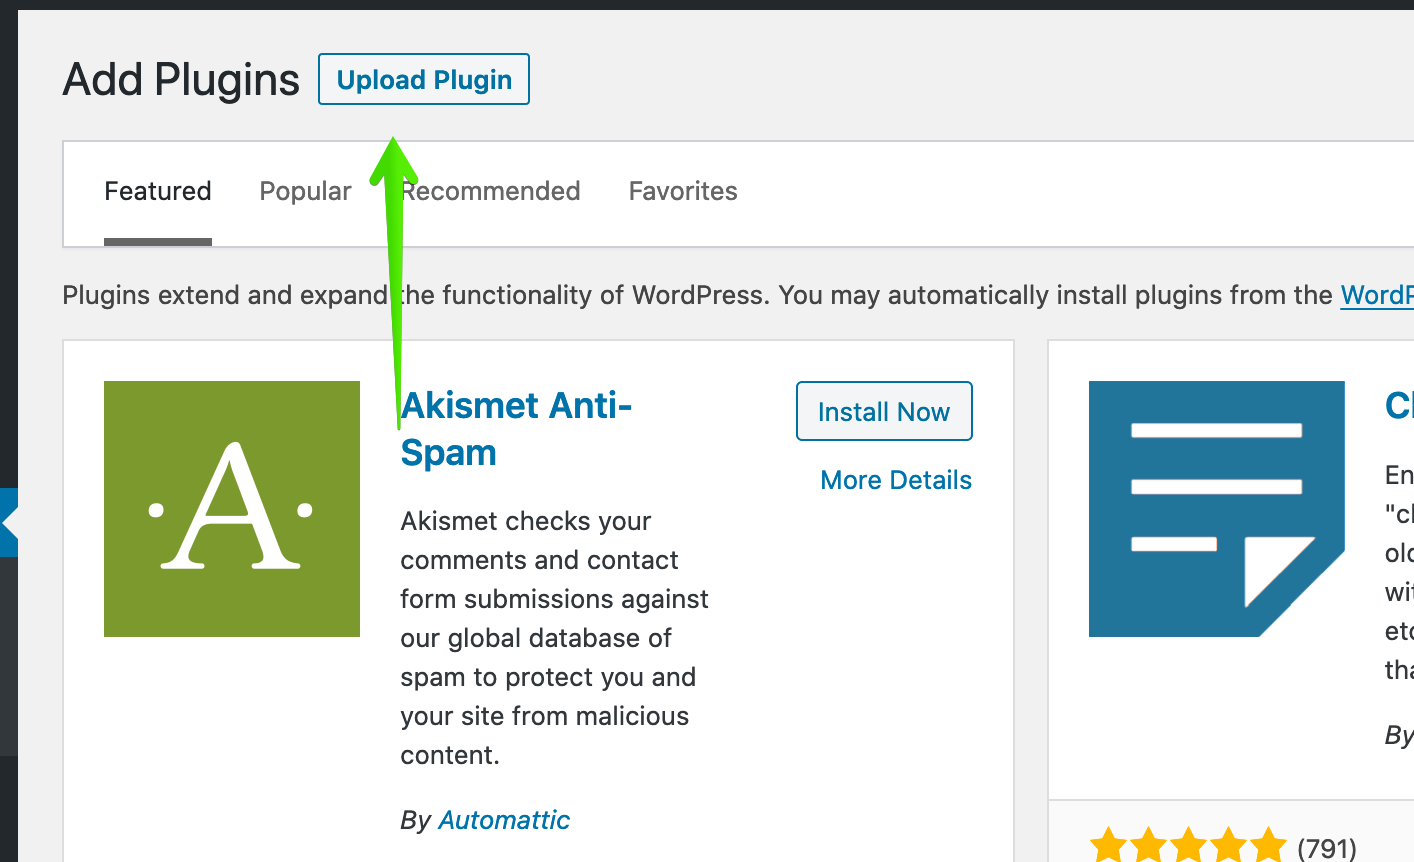
- Use the ‘Upload Plugin’ button to add a plugin you have the zip file of.
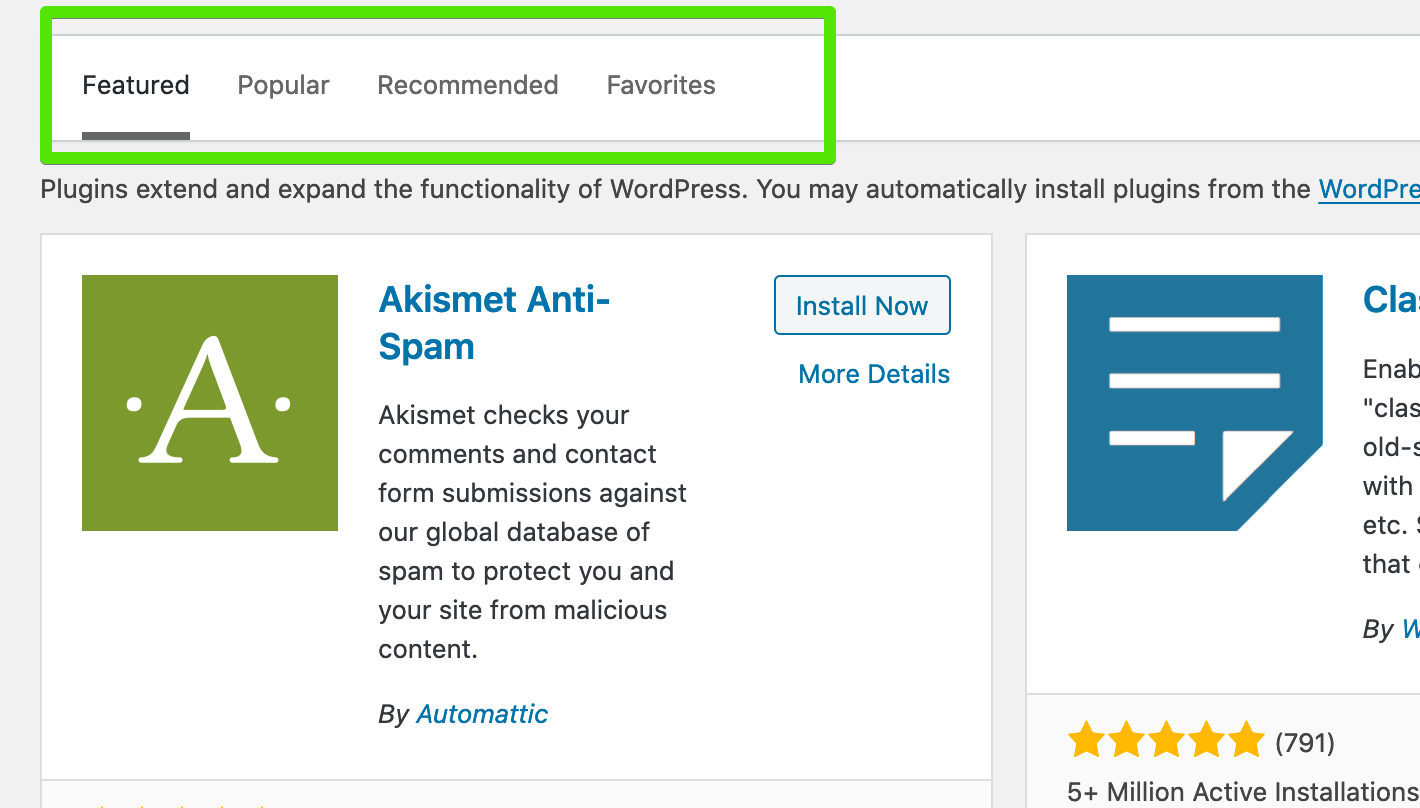
- Use the filter to search for recommended / popular plugins that will most likely do the job you need them to.
- Use the search bar to find a specific plugin or use a keyword that will show you a list of plugins regarding what you are searching
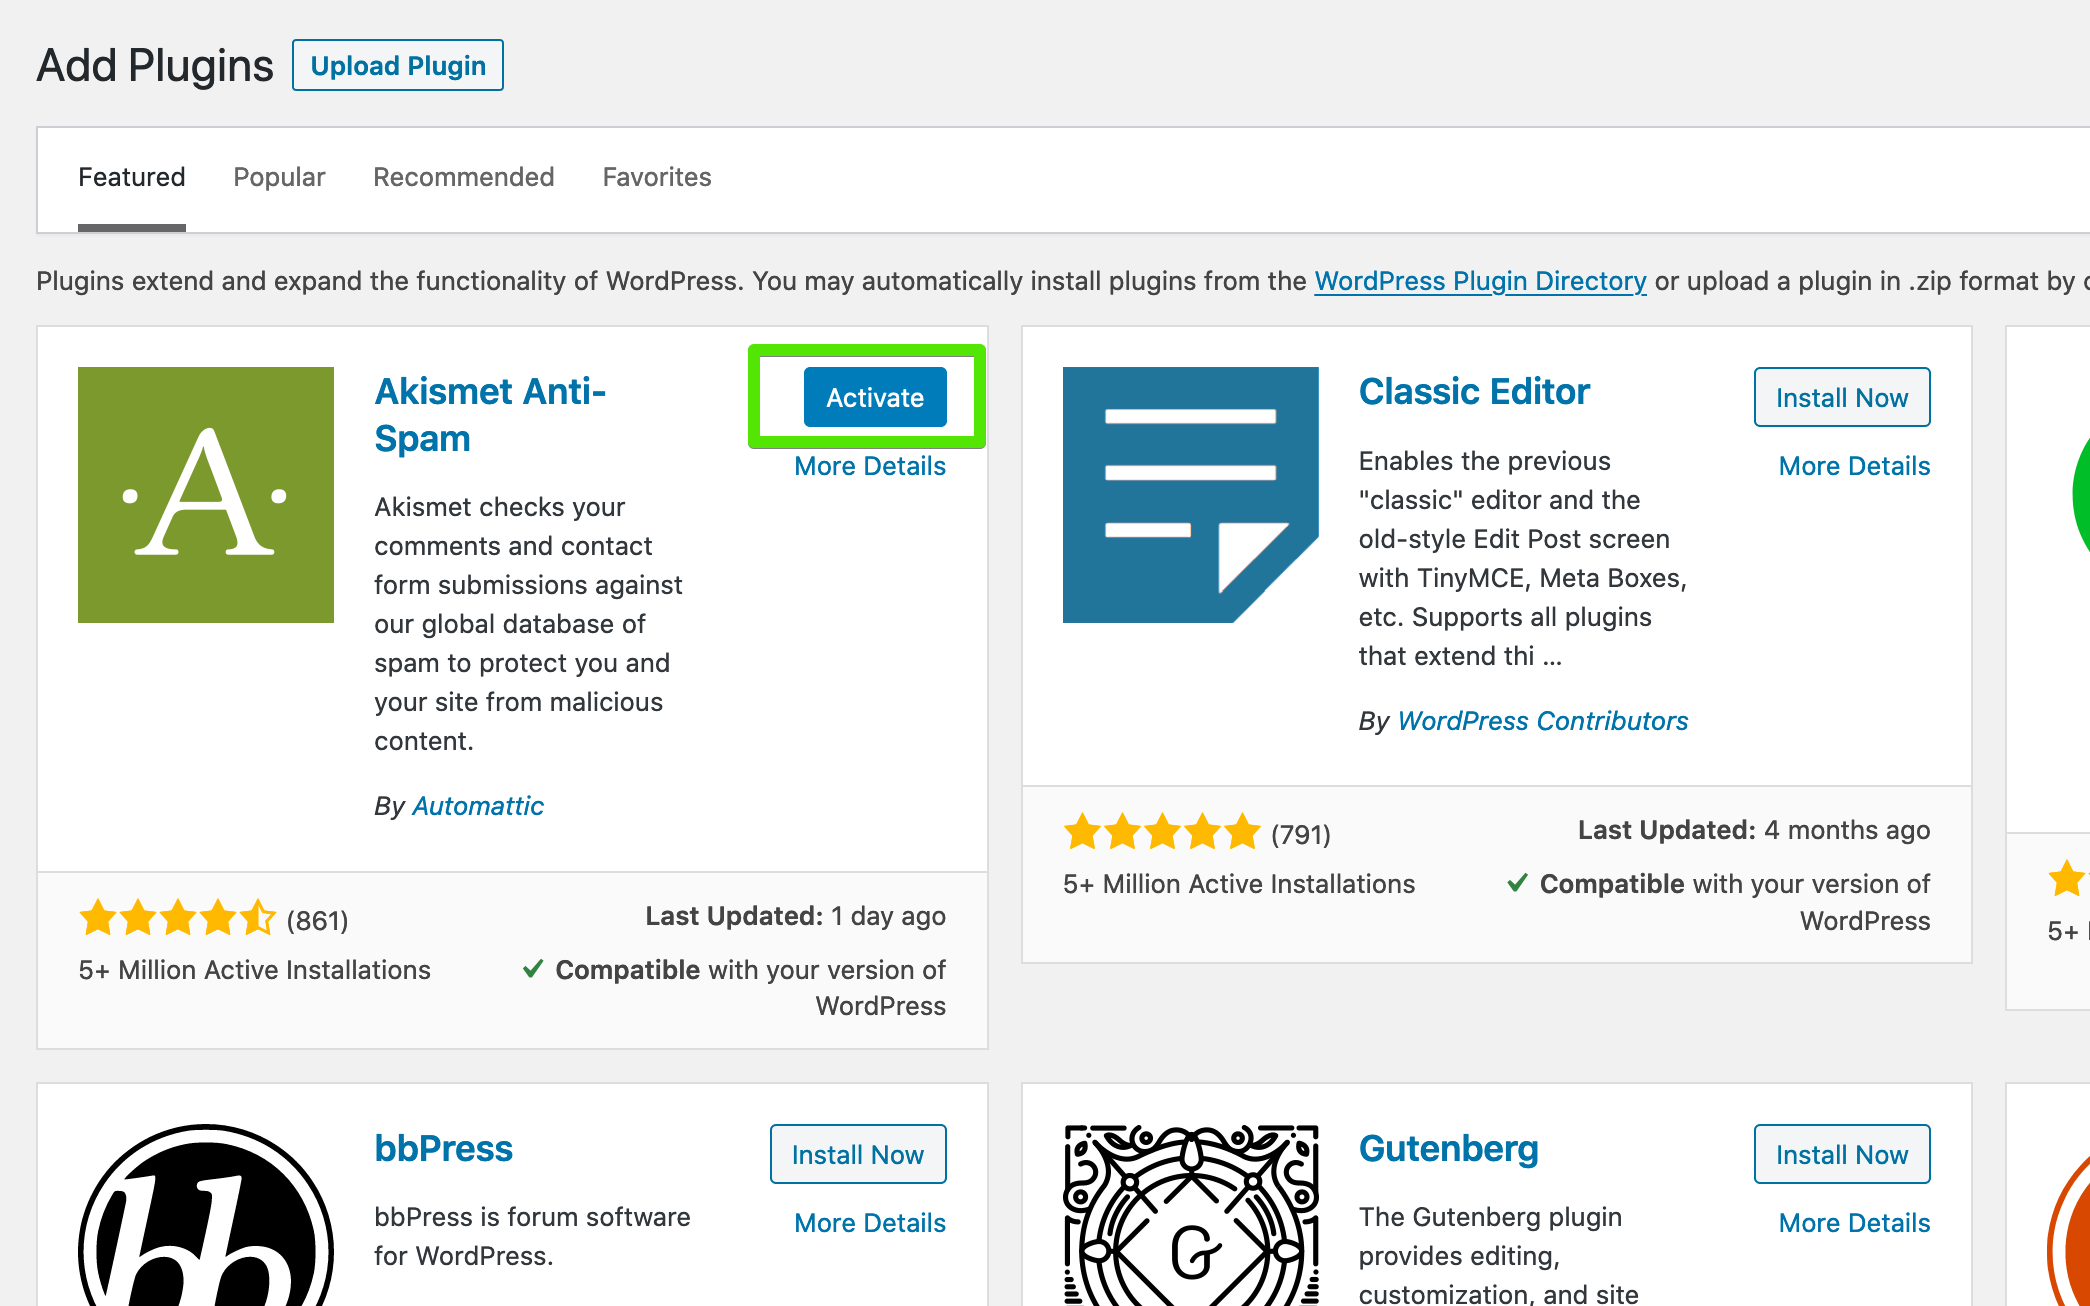
Step 3: Install and activate the plugin you need
After you’ve chosen the plugin you need, simply press on ‘Install Now’.
You will then see a new button ‘Activate’ on that particular plugin that will allow you to activate it.
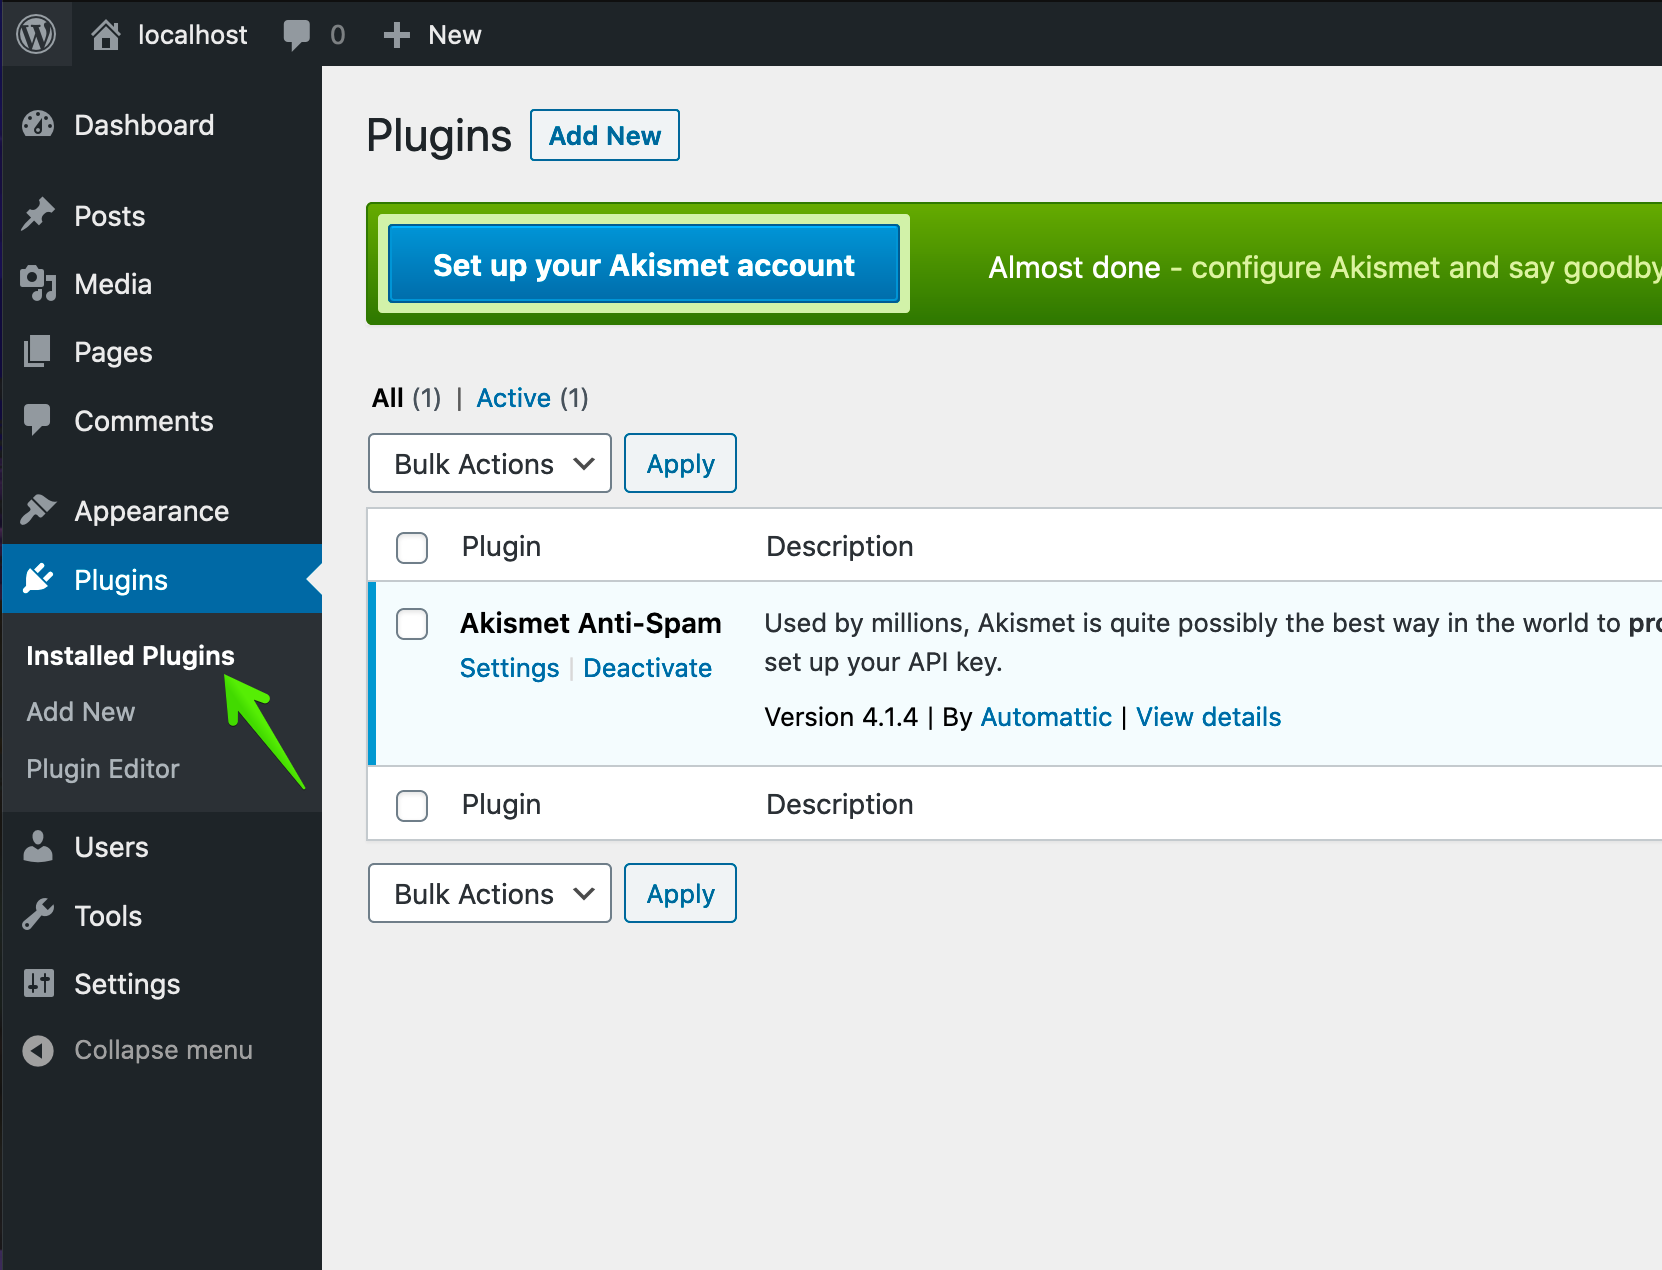
Note: You can check all of your currently installed plugins by navigating to the page Plugins -> Installed plugins in your navigation menu. The list of plugins will look like this:
Just a Tip From HowToHosting.Guide regarding plugins
It would be always best that you keep the plugin number slim. Therefore, install & activate only mandatory plugins & plugins you need.
Install Plugins in WordPress
Keeping plugins that will not be used will just take from the resources from the website, while not doing anything and might slow down your website. If you don’t need a plugin make sure that you at least deactivate it, or better yet – delete it.