


On This Page: [hide]
Interested in creating a website in the decentralized web? Read this guide! It will show you everything you know to begin with your first Web 3.0 site.
Why Create a Website on Decentralised Web?

Web 3.0 has been the topic of many communities and enthusiasts when it comes to Blockchain technology.
Given that this type of technology is more secure due to being decentralised pushed people into creating metaverses with a web within within the web.
This gave birth to first websites that are hosted in the cloud in a decentralised manner.
Those websites have a lot of different benefits for users, including that they are not controlled by big tech and once you own such a website it is yours for life without having to pay fees for keeping the domain name alive.
At this point the technology is at the very early stage of development, but you can now officially purchased an NFT domain, register it and upload it into the IPFS (Inter-Planetary File System) network, to turn it into a live website on web 3.0.
How to Create a Blockchain Website
In the steps below, we will be going through how you can create a Blockchain website by following several different stages with simple steps for each stage, starting with choosing your NFT Domain.
Get Your NFT Domain
1. Simplify cryptocurrency addresses with NFT domains
– Attach your BTC, ETH, LTC and 275+ other cryptocurrencies to your NFT domain
2. Login with your domain
– A single, easy-to-remember username on the decentralised web
3. Own your domain, for life
– No renewal fees, ever
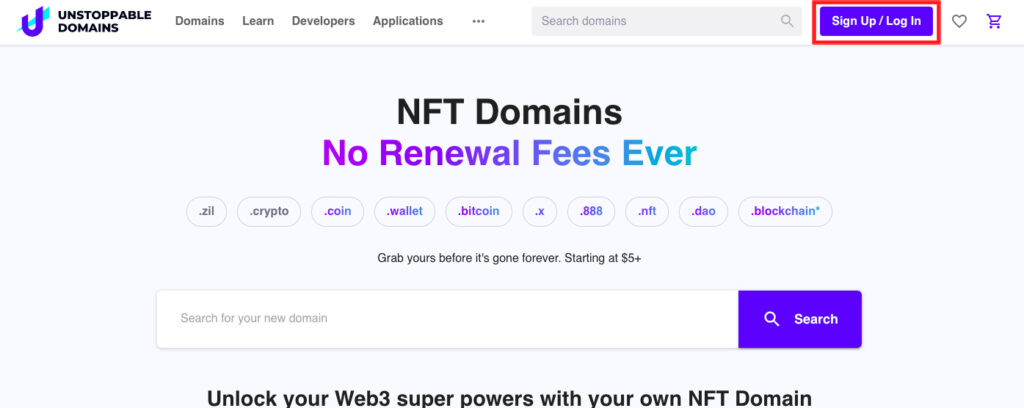
Step 1: Go over at the Unstoppable Domains website and make an account if you do not have one:
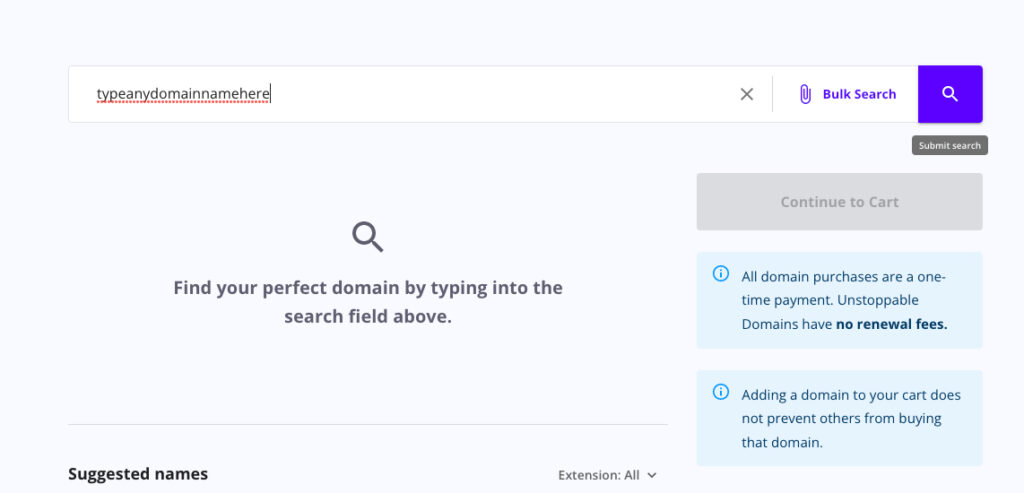
Step 2: On the website’s search bar, go ahead and search for the domain name that you want to register:
Step 3: You have the ability to choose the domain name that is right for you, based on your budget and preferences and pay a one-time full ownership price. Prices can be as low as $15 all the way up to hundreds of thousands:
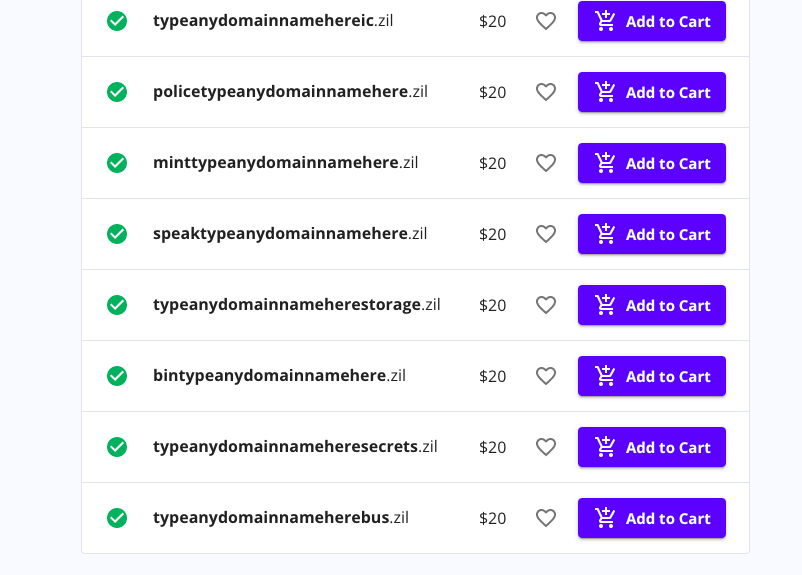
Step 4: Add the domain that you have chosen to your cart and go over added to complete your purchase:
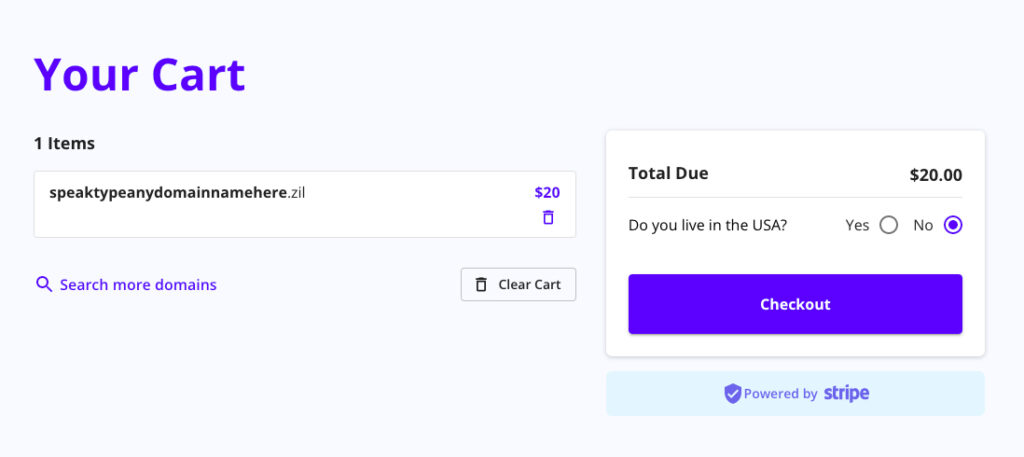
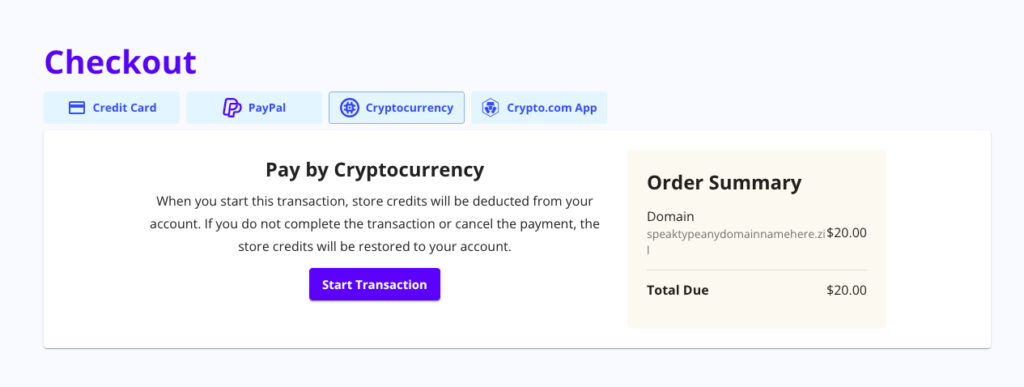
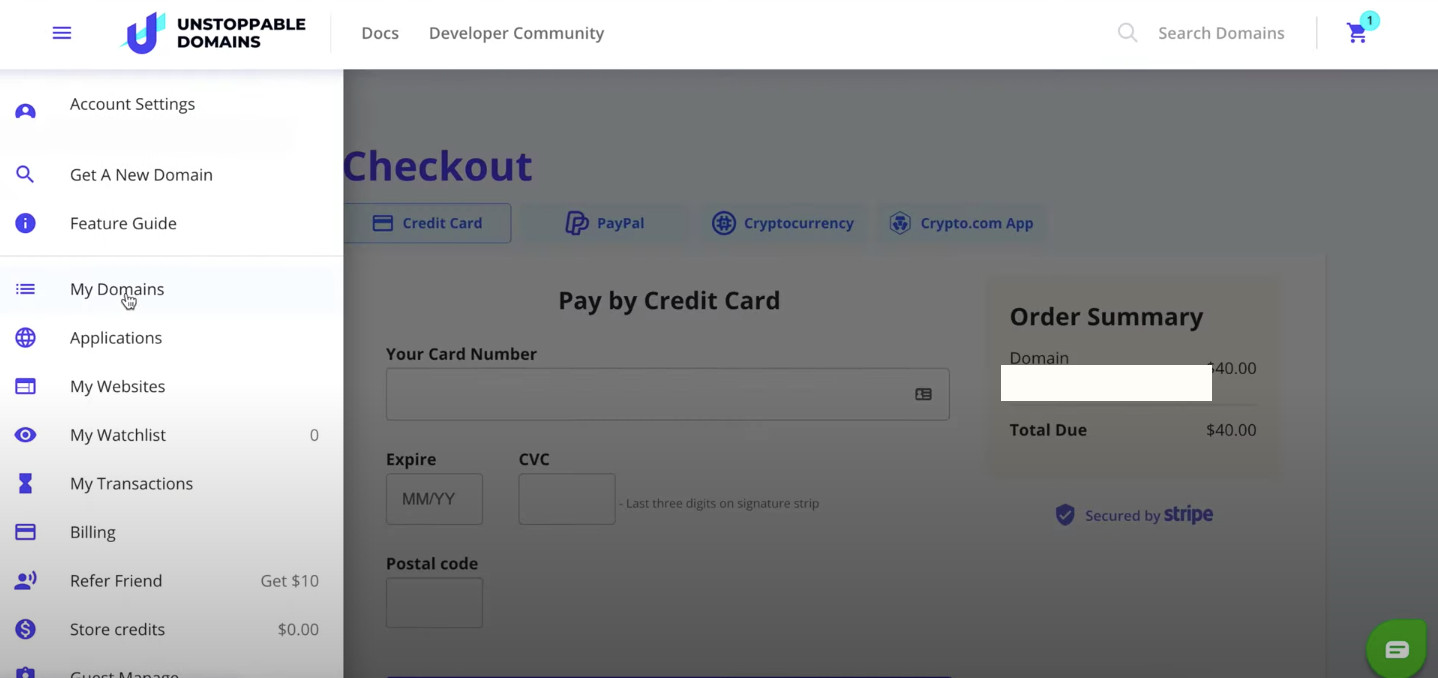
Step 5: Choose the method via which you want to pay for this domain and go ahead and make the purchase:
Remember, did you pay for the domain only once. Once you have registered your own domain, it is yours for life and nobody else can take it from you and you have the ability to trade it and have full control of what happens to this domain.
Turn Your NFT Domain Into Website on IPFS
Usually, websites that offer such services do not offer the ability to make a website in web 3.0 (or decentralised hosting). But given that Unstoppable Domains are the largest NFT domain selling service in the world, they have the specific ability that allows you to create a blockchain website or a decentralized website. Here, we will show you how to make your first steps towards publishing your website live in web 3.0.
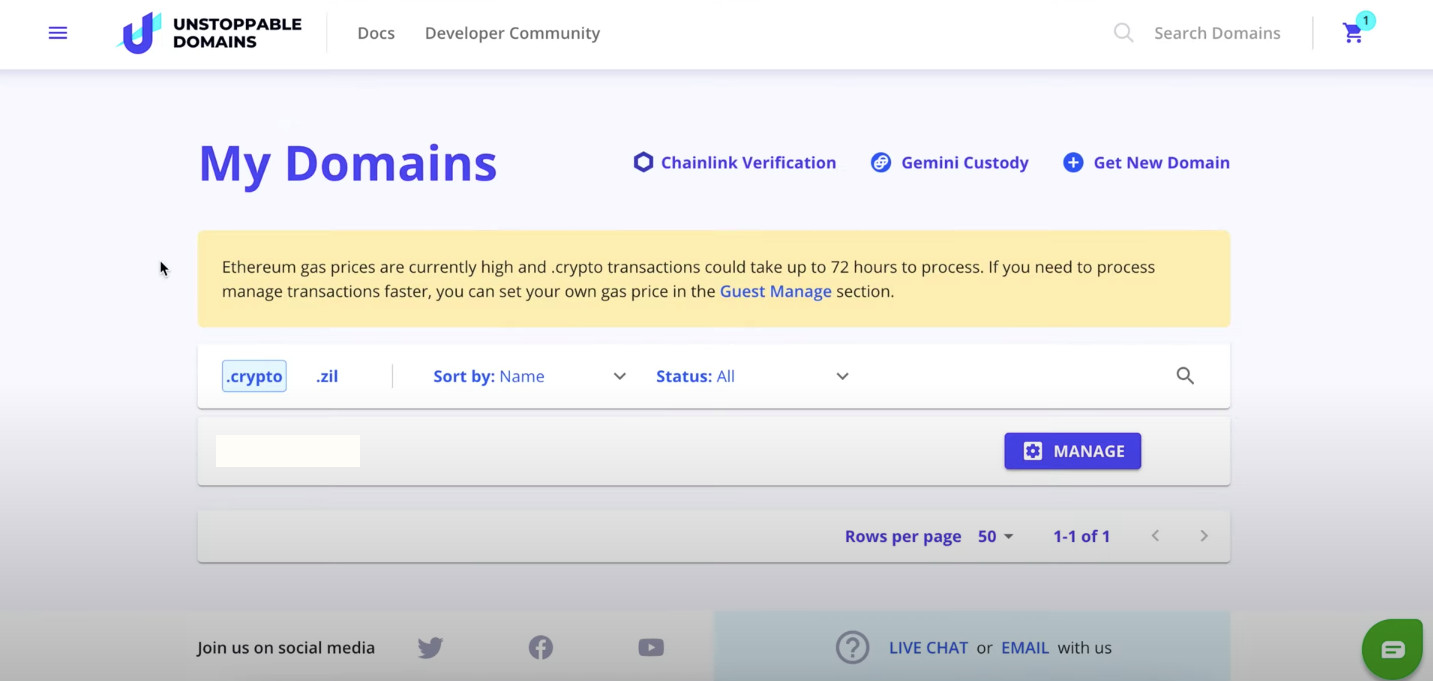
Step 1: After you have chosen and bought your domain name, go over at the My domains menu:
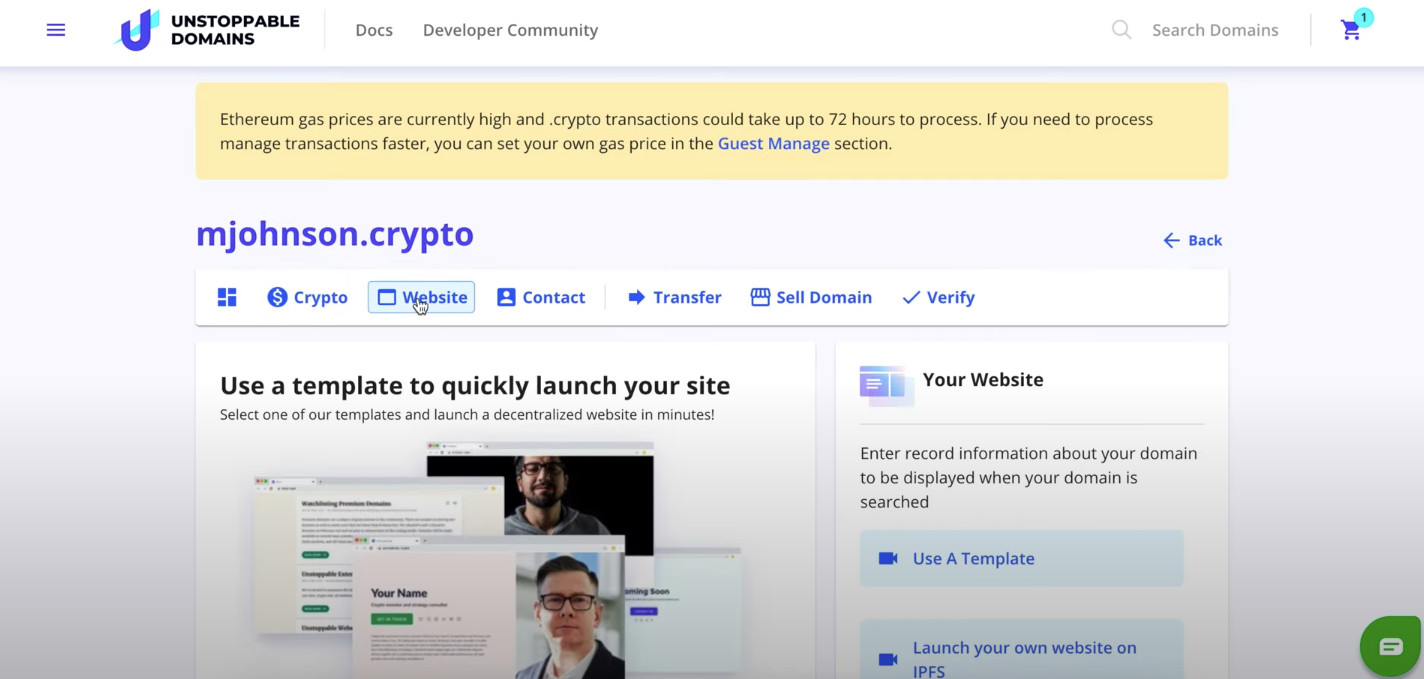
Step 2: Select the domain name that you want to make a website with and then click on the Manage button:
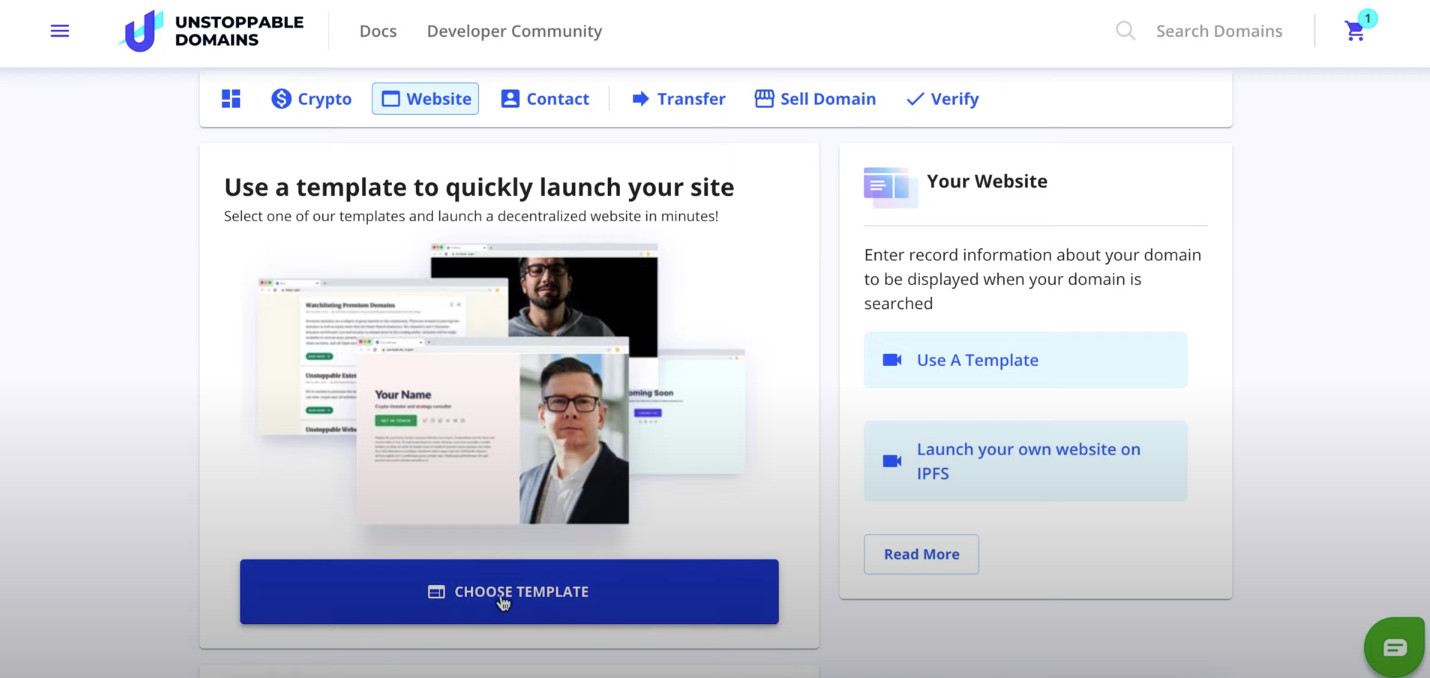
Step 3: In order to set up and customise your website, go over at the Website tab:
Step 4: Now, we will select a template for your decentralised website. To do this, go over at the Choose Template button:
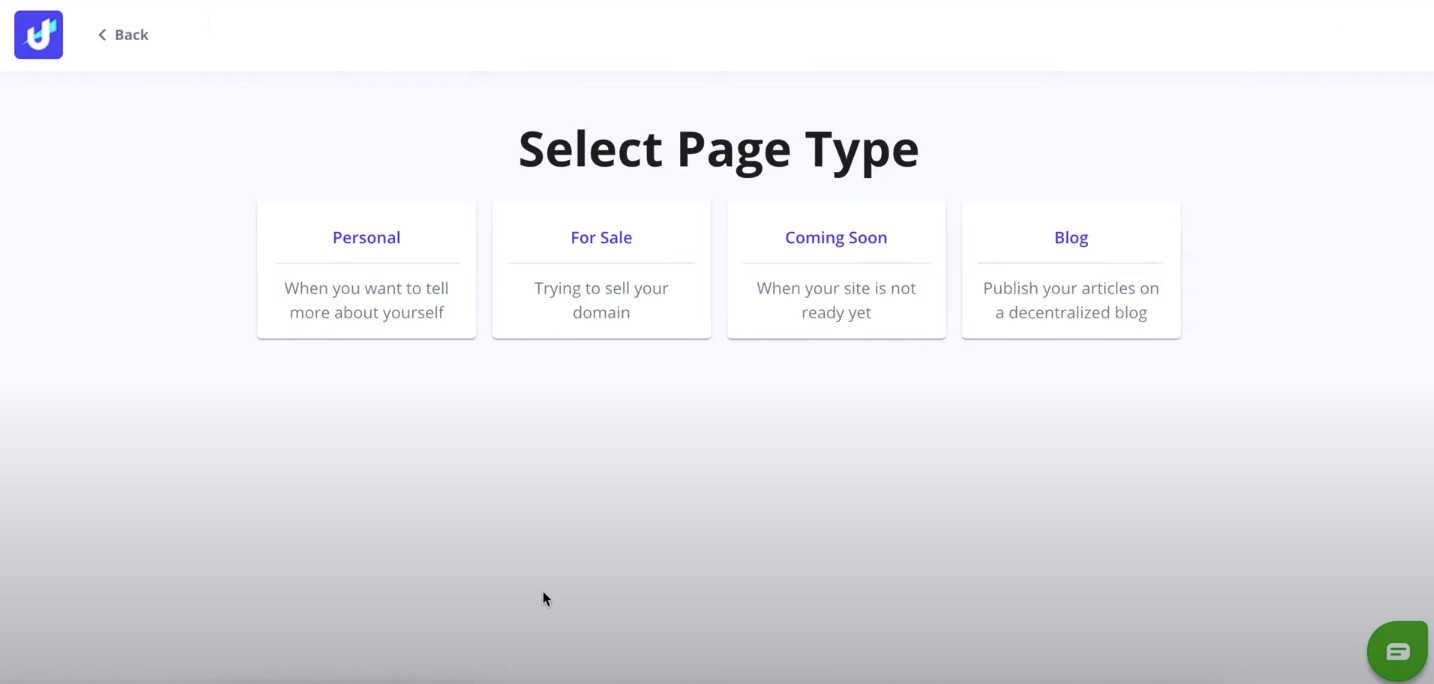
Step 5: As soon as you do that, you will be presented with a menu, that contains multiple kinds of templates for different types of websites.
Be advised, that it is still at an early stage and more features and customisability extras are about to be released.
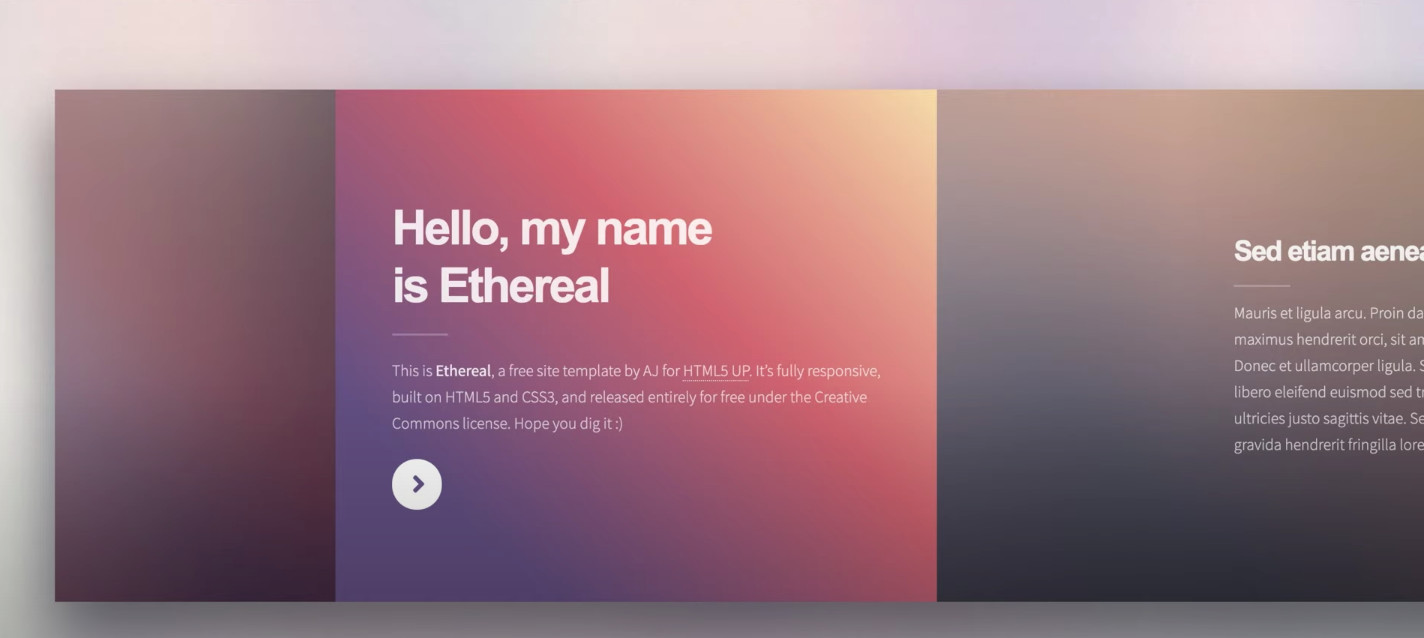
Now choose the type of template that you want to use. For now you have the choice between a personal website, website that is for sale, which is useful for domain flipping, a “coming soon” website or a personal blog. Each of those have multiple kinds of Templates which ones chosen, allow you to customise them and fill them with data.
For demonstration purposes, now we will click on a Personal website:
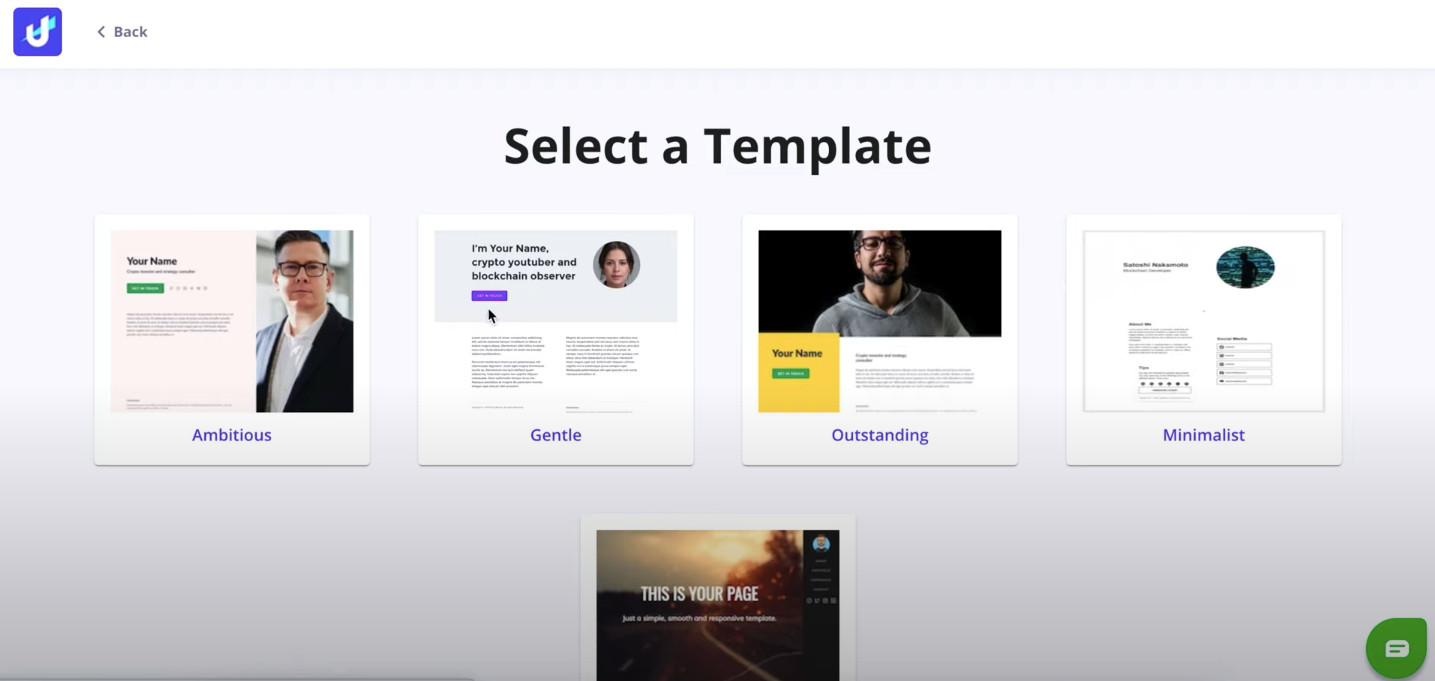
Step 6: Select your desired template and continue:
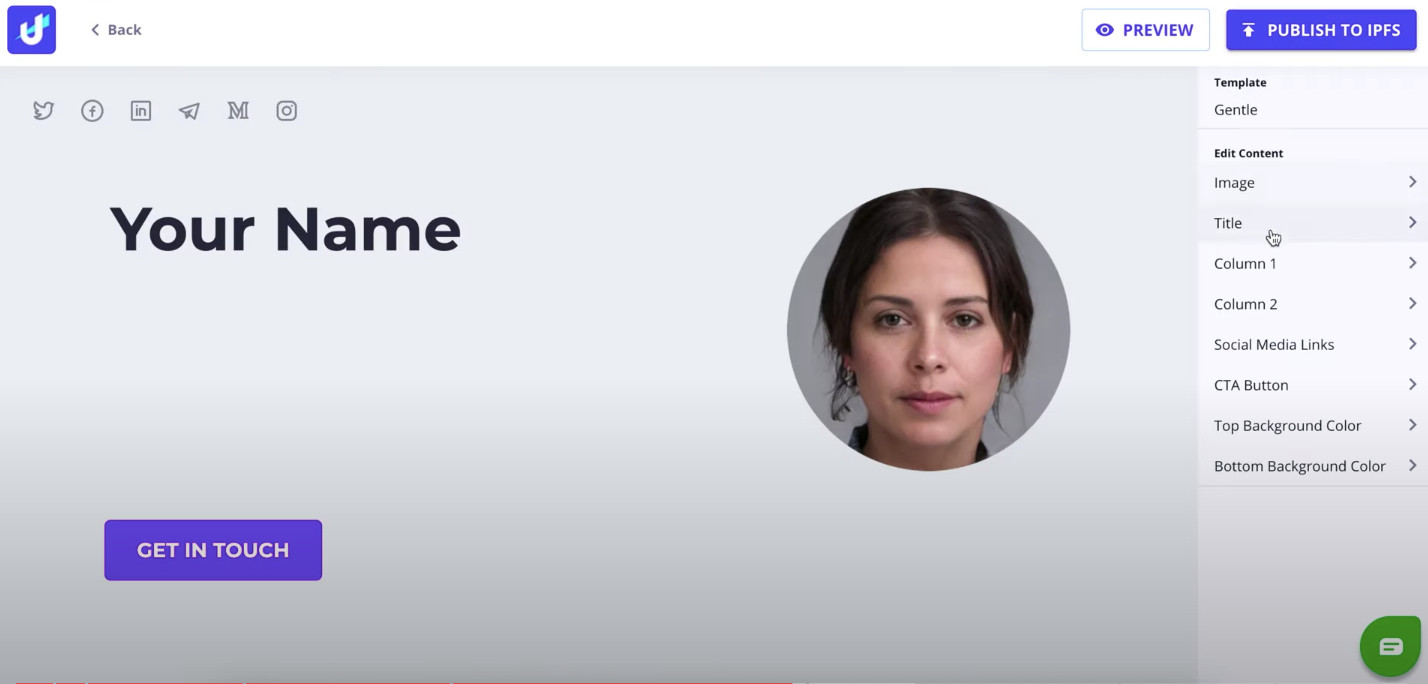
Step 7: As soon as you enter this template, you will be presented with different types of customizability options. You can add tax to it, you can change the images, like the profile image, the background image, you can also modify the categories and remove or add more elements to it:
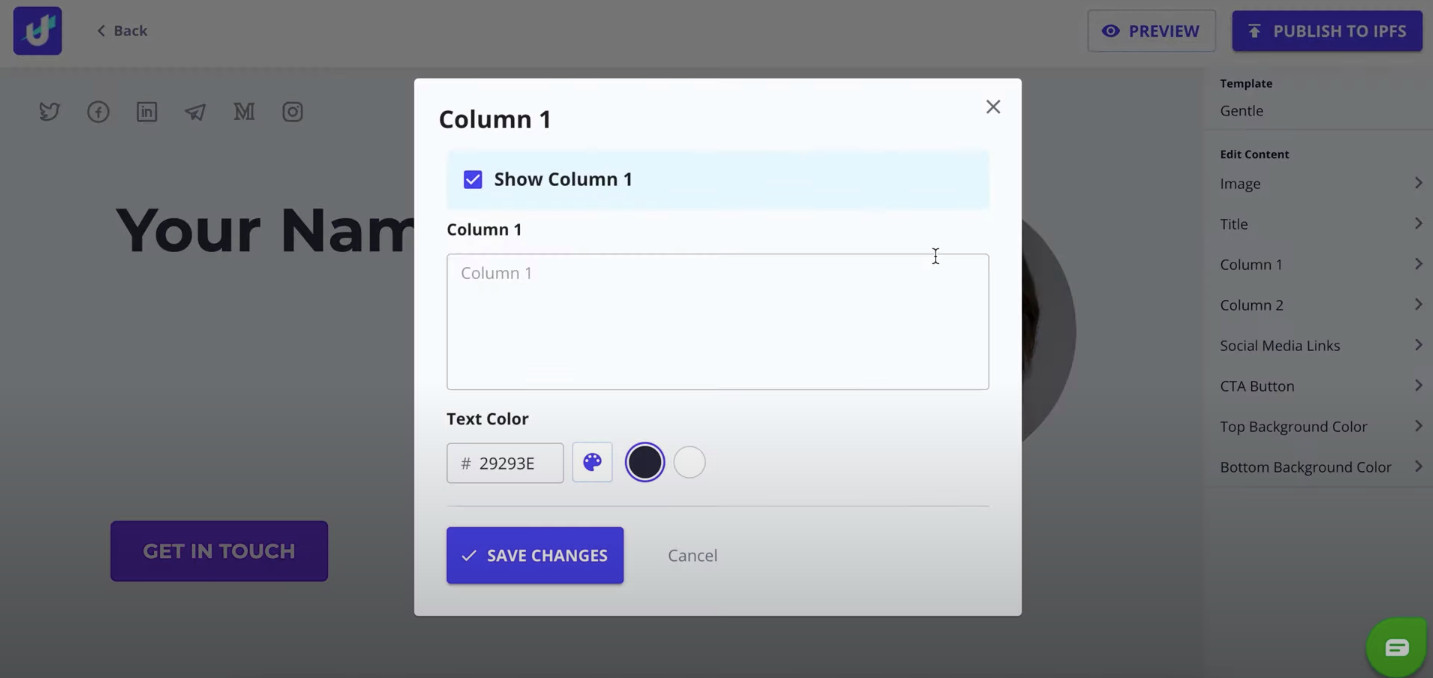
Step 8: Every change that you make is published to the IPFS network and will take some time to process by the Blockchain technology, which means that it may take some time for those changes to apply. To publish your first website on the Blockchain, click the Publish to IPFS button. You have done this correctly, you have now successfully created your first decentralized website for free and it is currently live!
If you do not like something about the website, you can also go back and use different kinds of customizability features to edit it, according to your likings:
How to Further Develop Your Website Using Pinata and IPFS Network
Piñata is the kind of service that will let you feel safe to share media in the cloud, with the help of Blockchain technologies.
It works in partnership with a lot of big services and well-known names in the Blockchain sphere, including Unstoppable Domains. What is best about it is that it has a free plan, where you can upload as much as 1GB of content to your website by simply making an account there.
How To Upload Files to IPFS Using Pinata?
Uploading files to the IPFS network does not make it any difference to doing so with some other network or CMS platform. The reason for that is that is made very convenient, while using the new Blockchain technology to split the file into smaller chunks and make these chunks discoverable and detectable by using something that is known as a CID or Content Identifier.
If someone wanted to access your file via the IPFS network, they receive information about this unique CID, which serves as a sort of fingerprint to help you see the file faster and in a secure way.
As soon as this person has an access to this CID, they can see the contact that you have uploaded to the network.
Develop Your Website on IPFS With the Help of Pinata
Luckily, it is very easy to use Piñata to upload different files to your website on IPFS. It needs just a bit tweaking at first and as soon as you get out works, it is a walk in the park.
Now we at hth.guide Will take you through the necessary steps it takes to upload HTML and other component files to IPFS and use them to further develop your website.
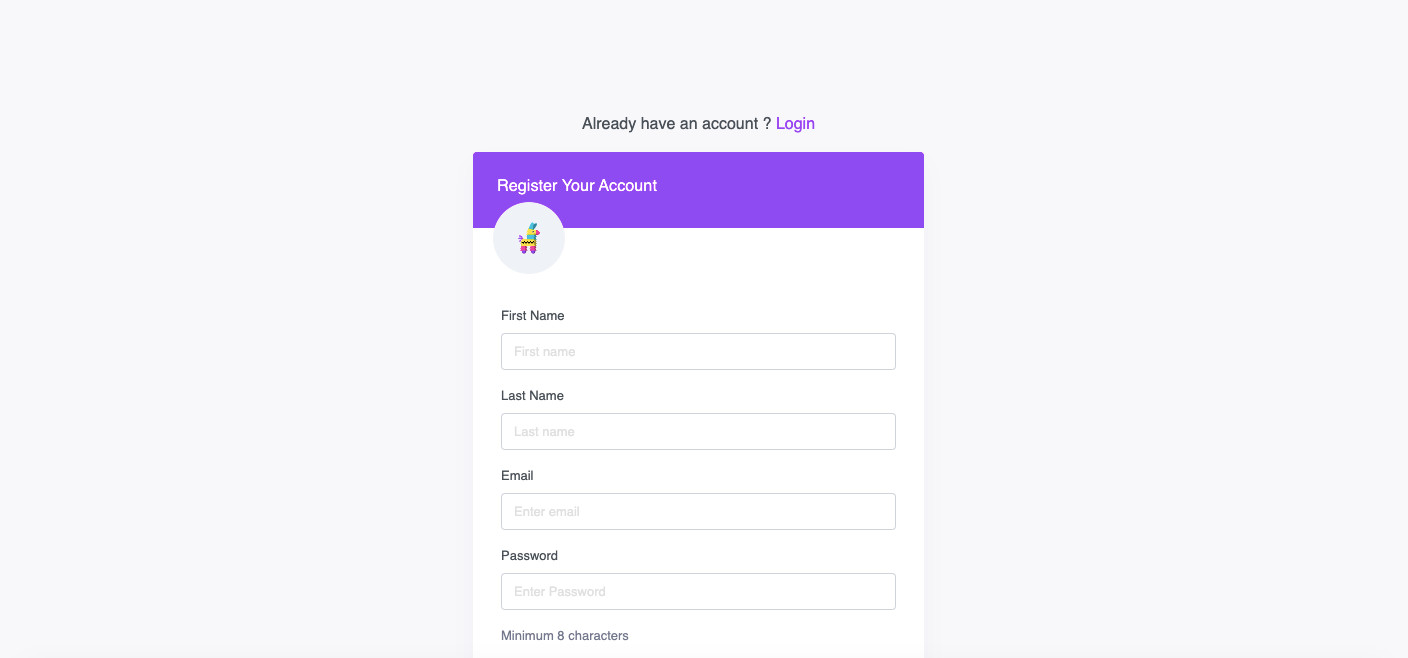
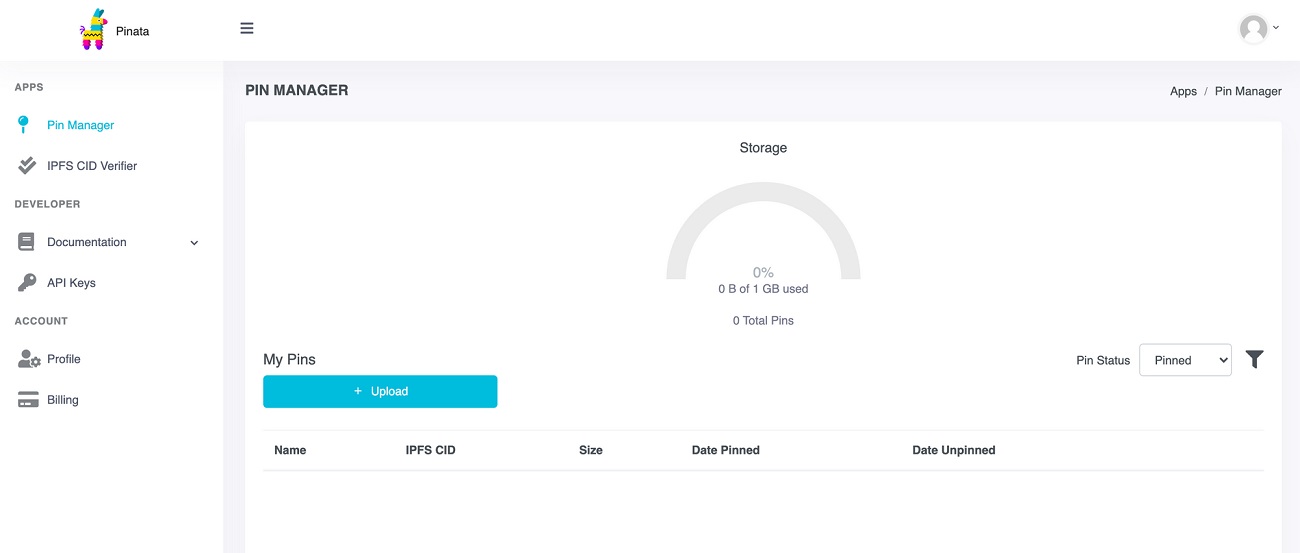
Step 1: First, open the official website of Pinata and create an account – it is completely free:
Step 2: Now, that you have set up a Piñata account, go ahead and open the Upload Directory section and go to the directory that contains the files of your site:
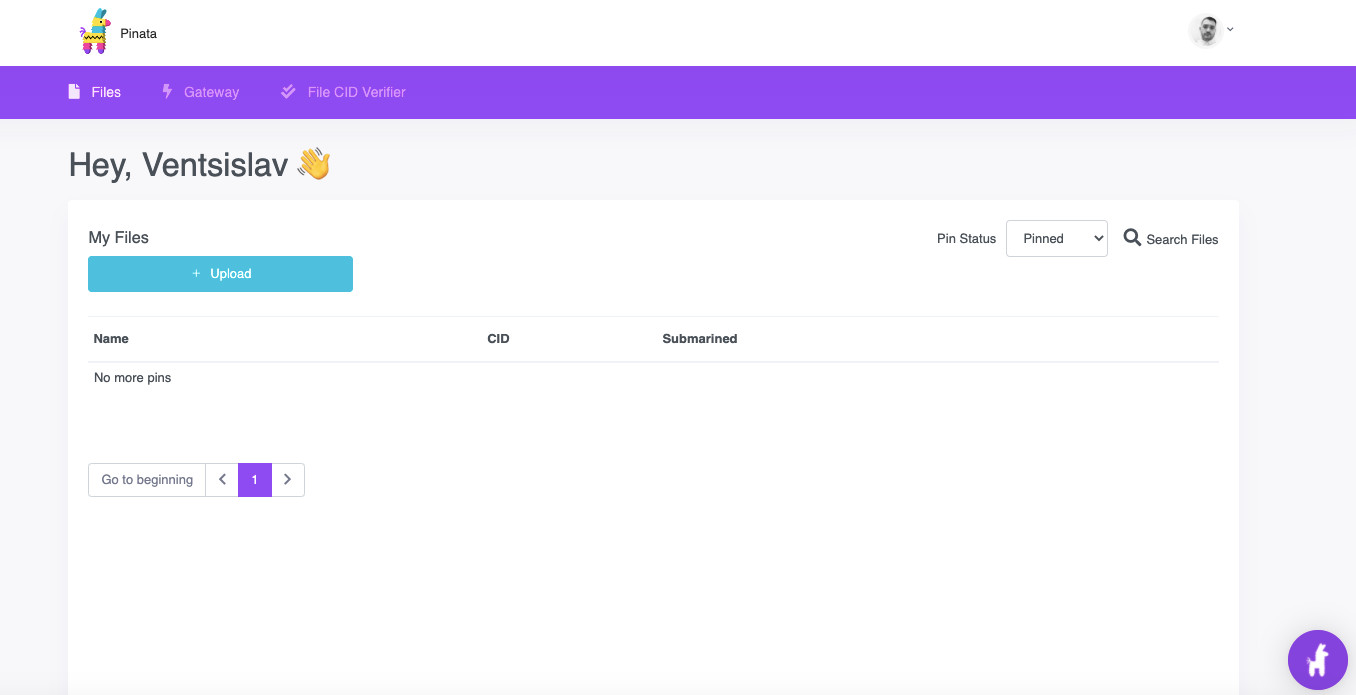
Step 3: Start with uploading your first file by clicking “Upload”. The logic is the same as uploading files to a traditional website, starting with an index.html file, containing the code of your website:
As soon as you upload the file and give it a custom name for it’s pin, you can choose the option to preserve this name and once this upload is completed, you will now receive a CID (Content Identifier) in the form of an IPFS hash.
You can use this hash code to access your website. Your website state that is now live into the IPFS network with no expiration date.
Step 4: If you want to check out your website works, make sure to copy the CID or the IPFS hash (the long code) and go to your website’s address, which should look somewhat like the following in the address bar:
https://gateway.pinata.cloud/ipfs/yourWebsiteCIDHere
To open your website, simply replace “yourWebsiteCIDHere” with your hash and hit enter. As soon as your website opens, you will be able to see your work live.
It may take a few moments because after all it is hosted in a decentralised manner and it’s up to the devices (nodes) that are supporting its chunks of data and is also still at an early stage. If it gives you an error, you should wait a couple of minutes and refresh the webpage.
Be advised, that there are a couple of free apps that you can use in order to apply files from CMS platforms, like WordPress if you want your decentralized website running WordPress, for example. Further more, you can also purchase a domain name to further improve your website’s appearance and SEO.
Conclusion
To sum it up, these are the most widely used methods to purchase an NFT domain name, mint it and upload it to the IPFS network, making it a live website there is a decentralised one or simply use it for NFT Domain flipping if you want to. If you have any questions or have any extra methods that you can add, make sure to drop us a comment and we at hth.guide will try to reply to you as soon as we see it.
I have a question around updating the website. Can you please share your understanding how this is possible since it is immutable using blockchain technology?
When you use their services to change something on your website, it usually takes some time for the update to take effect, since it is still in early development. They use “Pinata”, which is basically their version of cloud hosting, that supports the website. Still, you do get 5 GB of website space for free and the website is web 3.0. It can also be opened on web 2.0 (traditional web), but it is only possible via a Pinata link. Either way, the whole process works (we have tried it), however it is still in its early stages, so the main use of NFT domain names for now is for replacing crypto wallet addresses.
Pinata doesn’t allow HTML files anymore because unstopabledomains abused their free service with their millions of worthless free and cheap domains.
There is no way to host web3 sites anywhere for free.